Retrofitting a Gameboy Color

This will be a recurring theme but I tend to get a lot of things at flea markets around here which I might make a post about. A few weeks ago I made a late night post about refurbishing a DS Lite for my kid which got far more attention than I expected and suggested maybe people will want to see more of the things I get.
Last week I managed to get a Gameboy Color for a very reasonable price along with pokemon yellow, I wish I'd gotten everything the guy was selling because the prices were that good, sadly I didn't find him the next day but I did end up with a few other things:

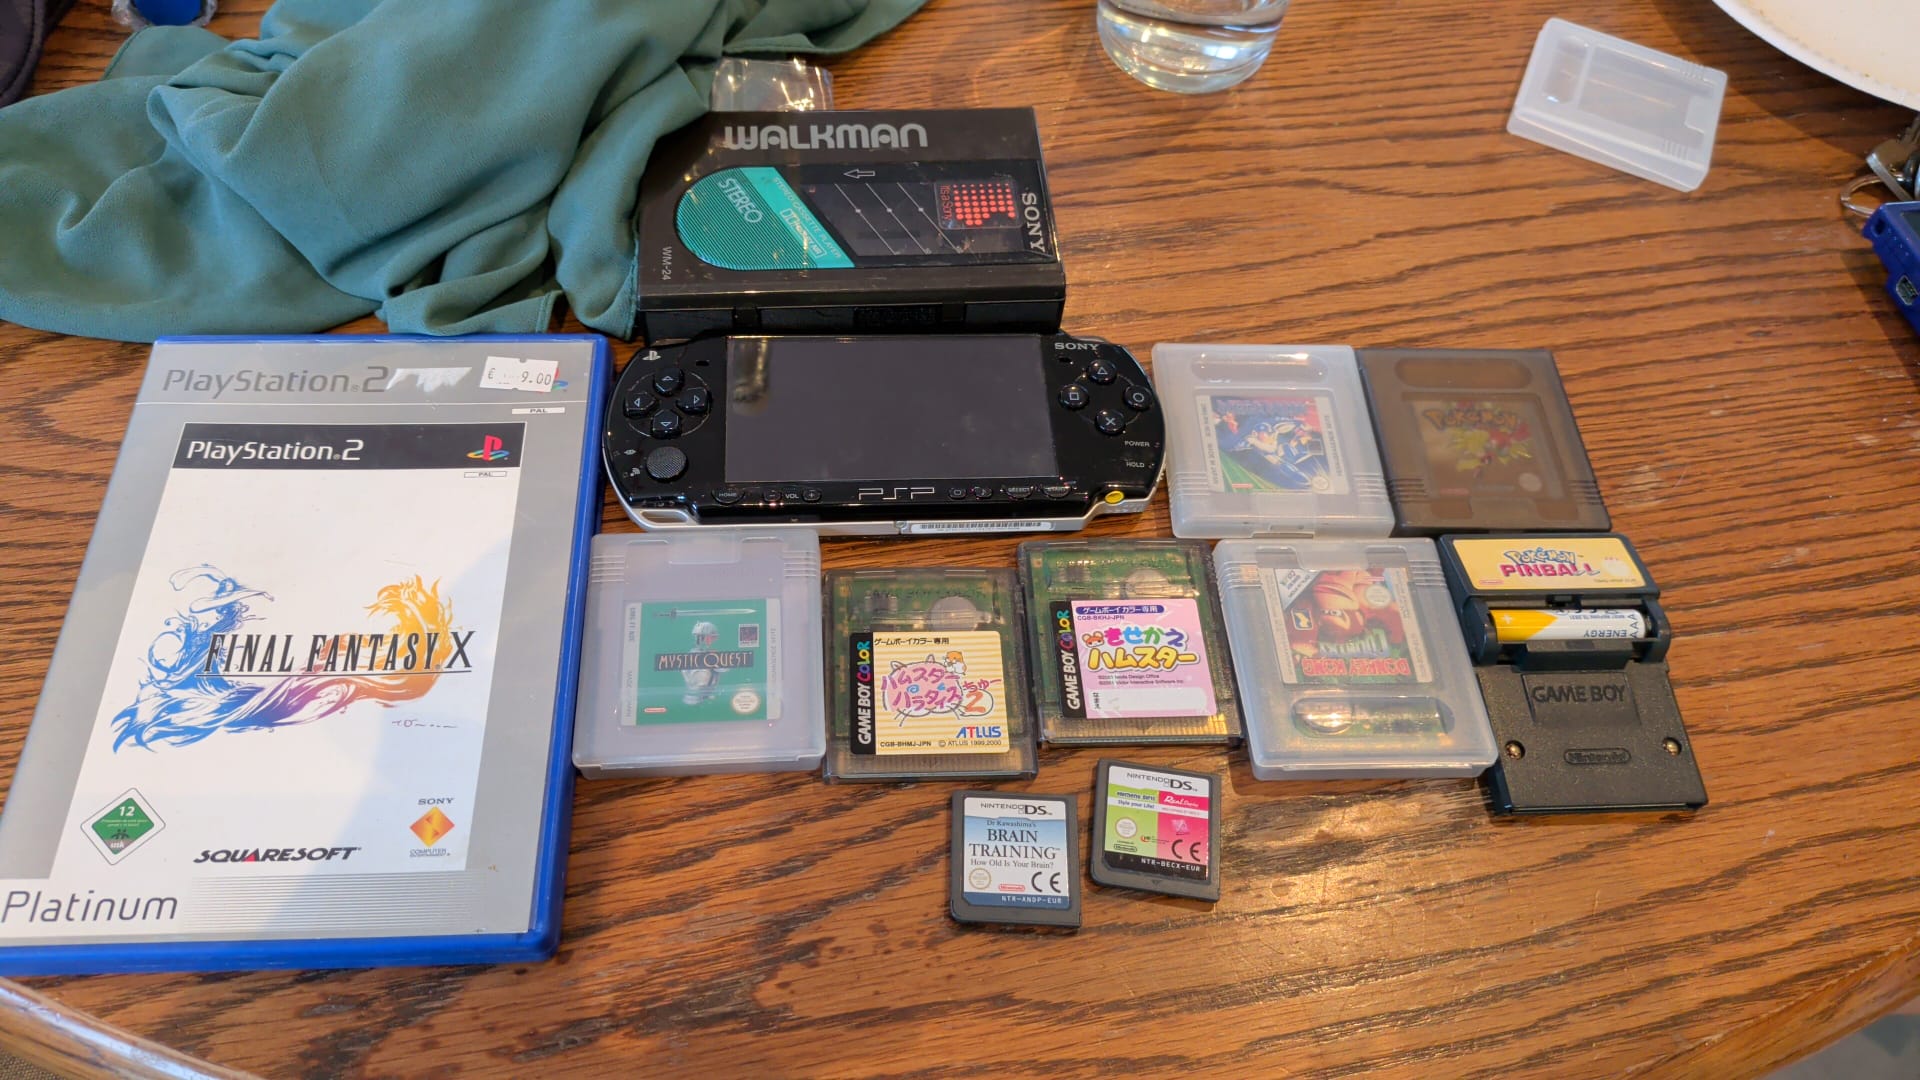
But I'm getting ahead of myself. The Gameboy Color worked really well and I've been playing Pokemon Yellow all week but there's a few things I'm not a fan of. The buttons are incredibly mushy, speaker isn't very loud, and it's that damn ancient screen with no backlight. Not a stranger to cracking open electronics, I decided to retrofit it.
A quick online search, some order and then an excrutiatingly long week of waiting later I got the parts.
- 2W Speaker
- Contact pads for the buttons
- Screen protector
- IPS screen

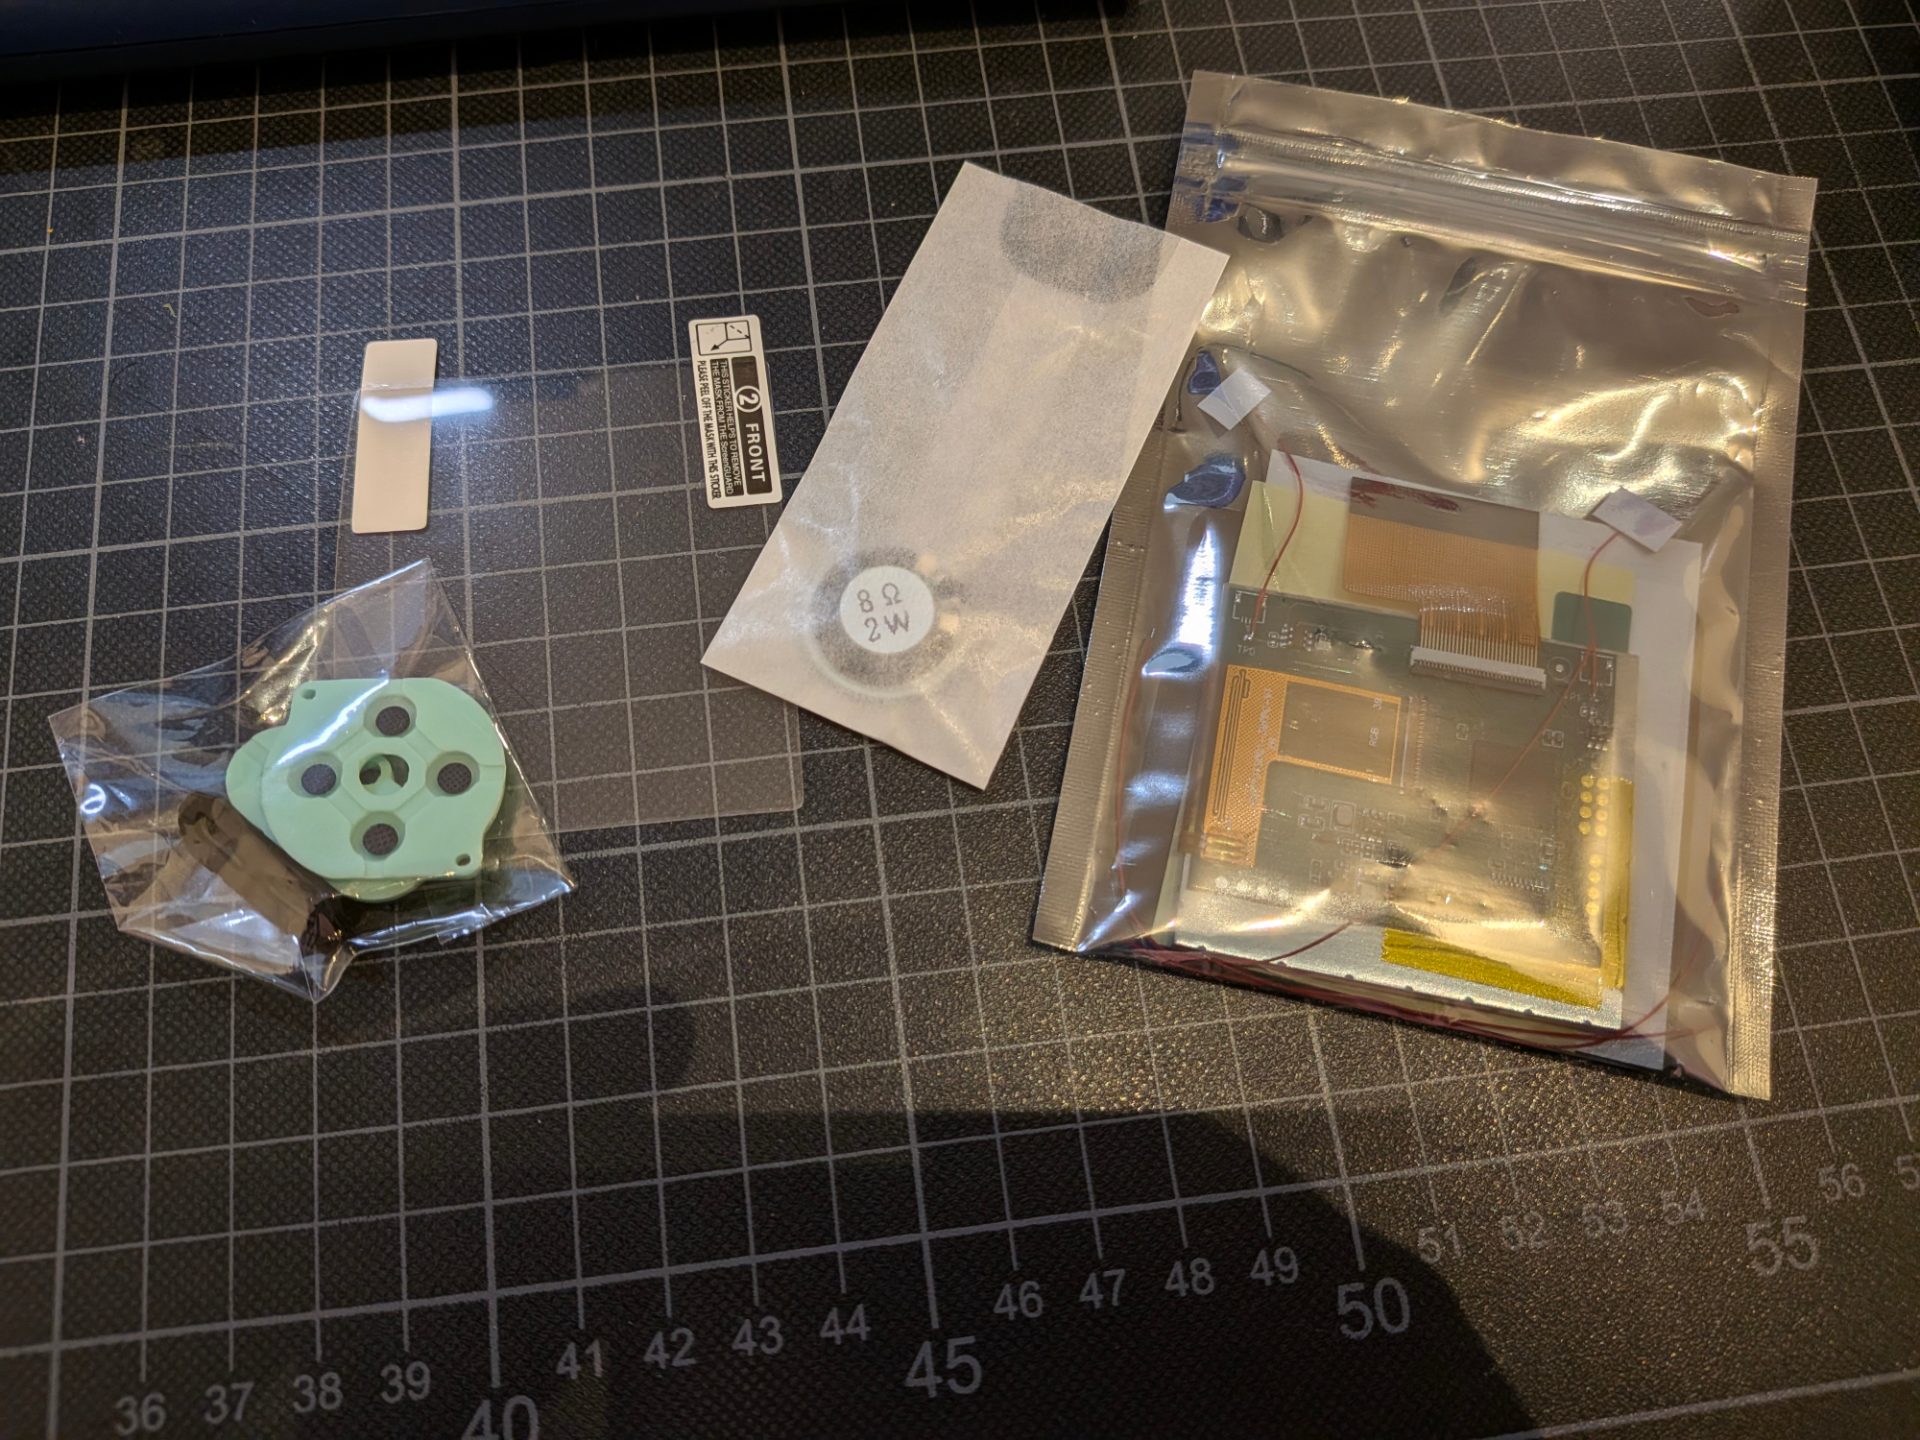
I had to hunt around a bit for the screen as it turned out that while there was a vibrant community keeping gameboys alive with all sorts of custom hardware, most replacement screens required either modifying the case or a completely new one. I wasn't interested in this so I looked for a "Drop in replacement" that didn't require any of that. Before I get further I just want to say that Zedlabz where I ordered from does a shit job of preparing you for what needs to be done by providing no install instructions anywhere.
Before I get into that, the Gameboy in all its beautiful purple glory.

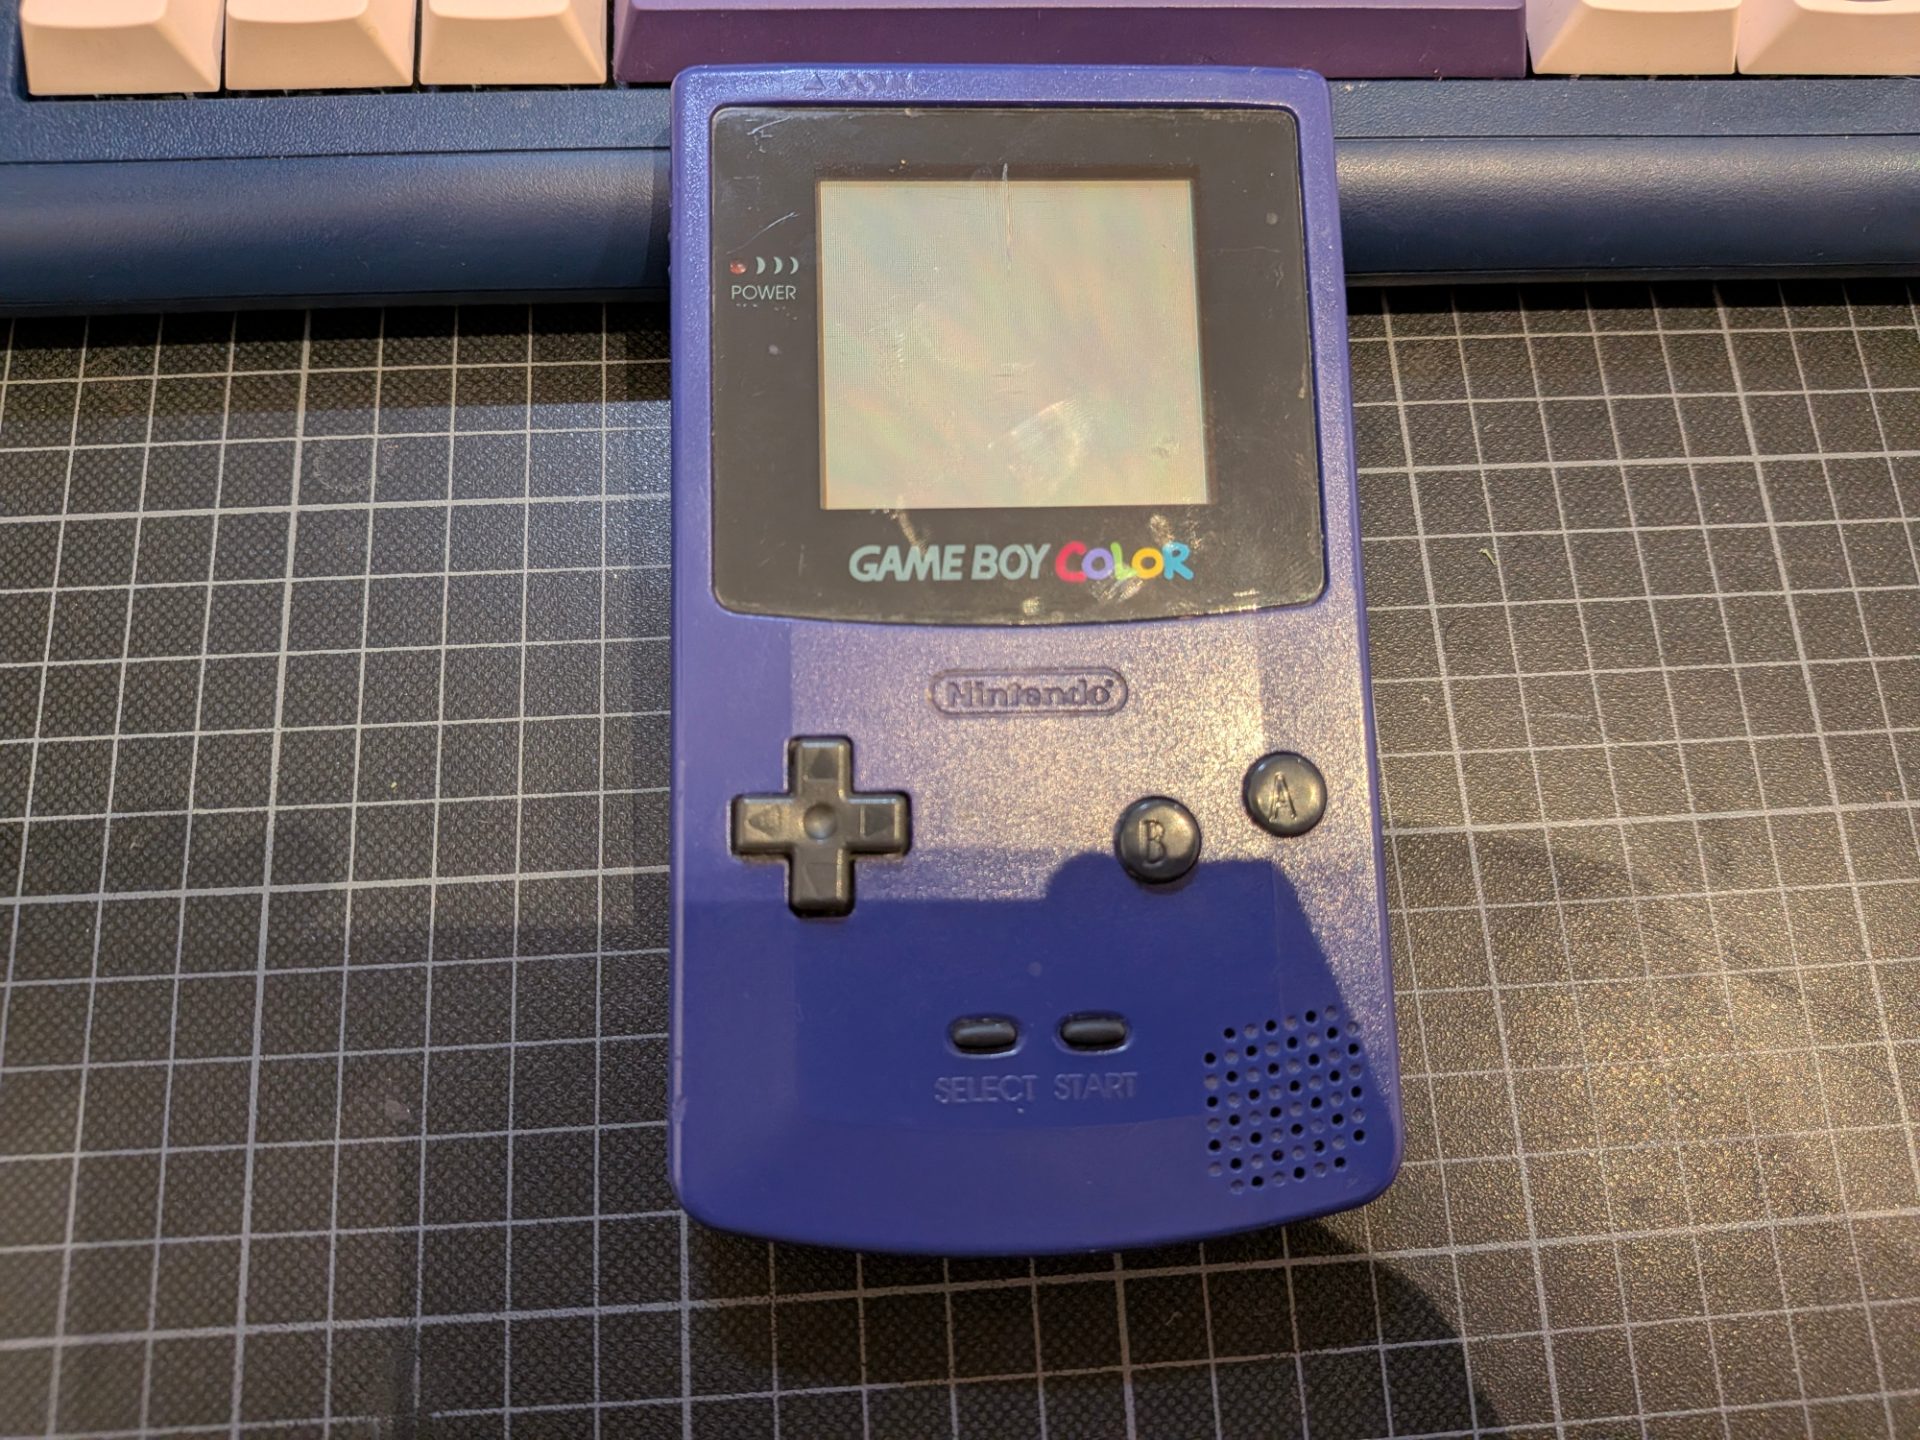
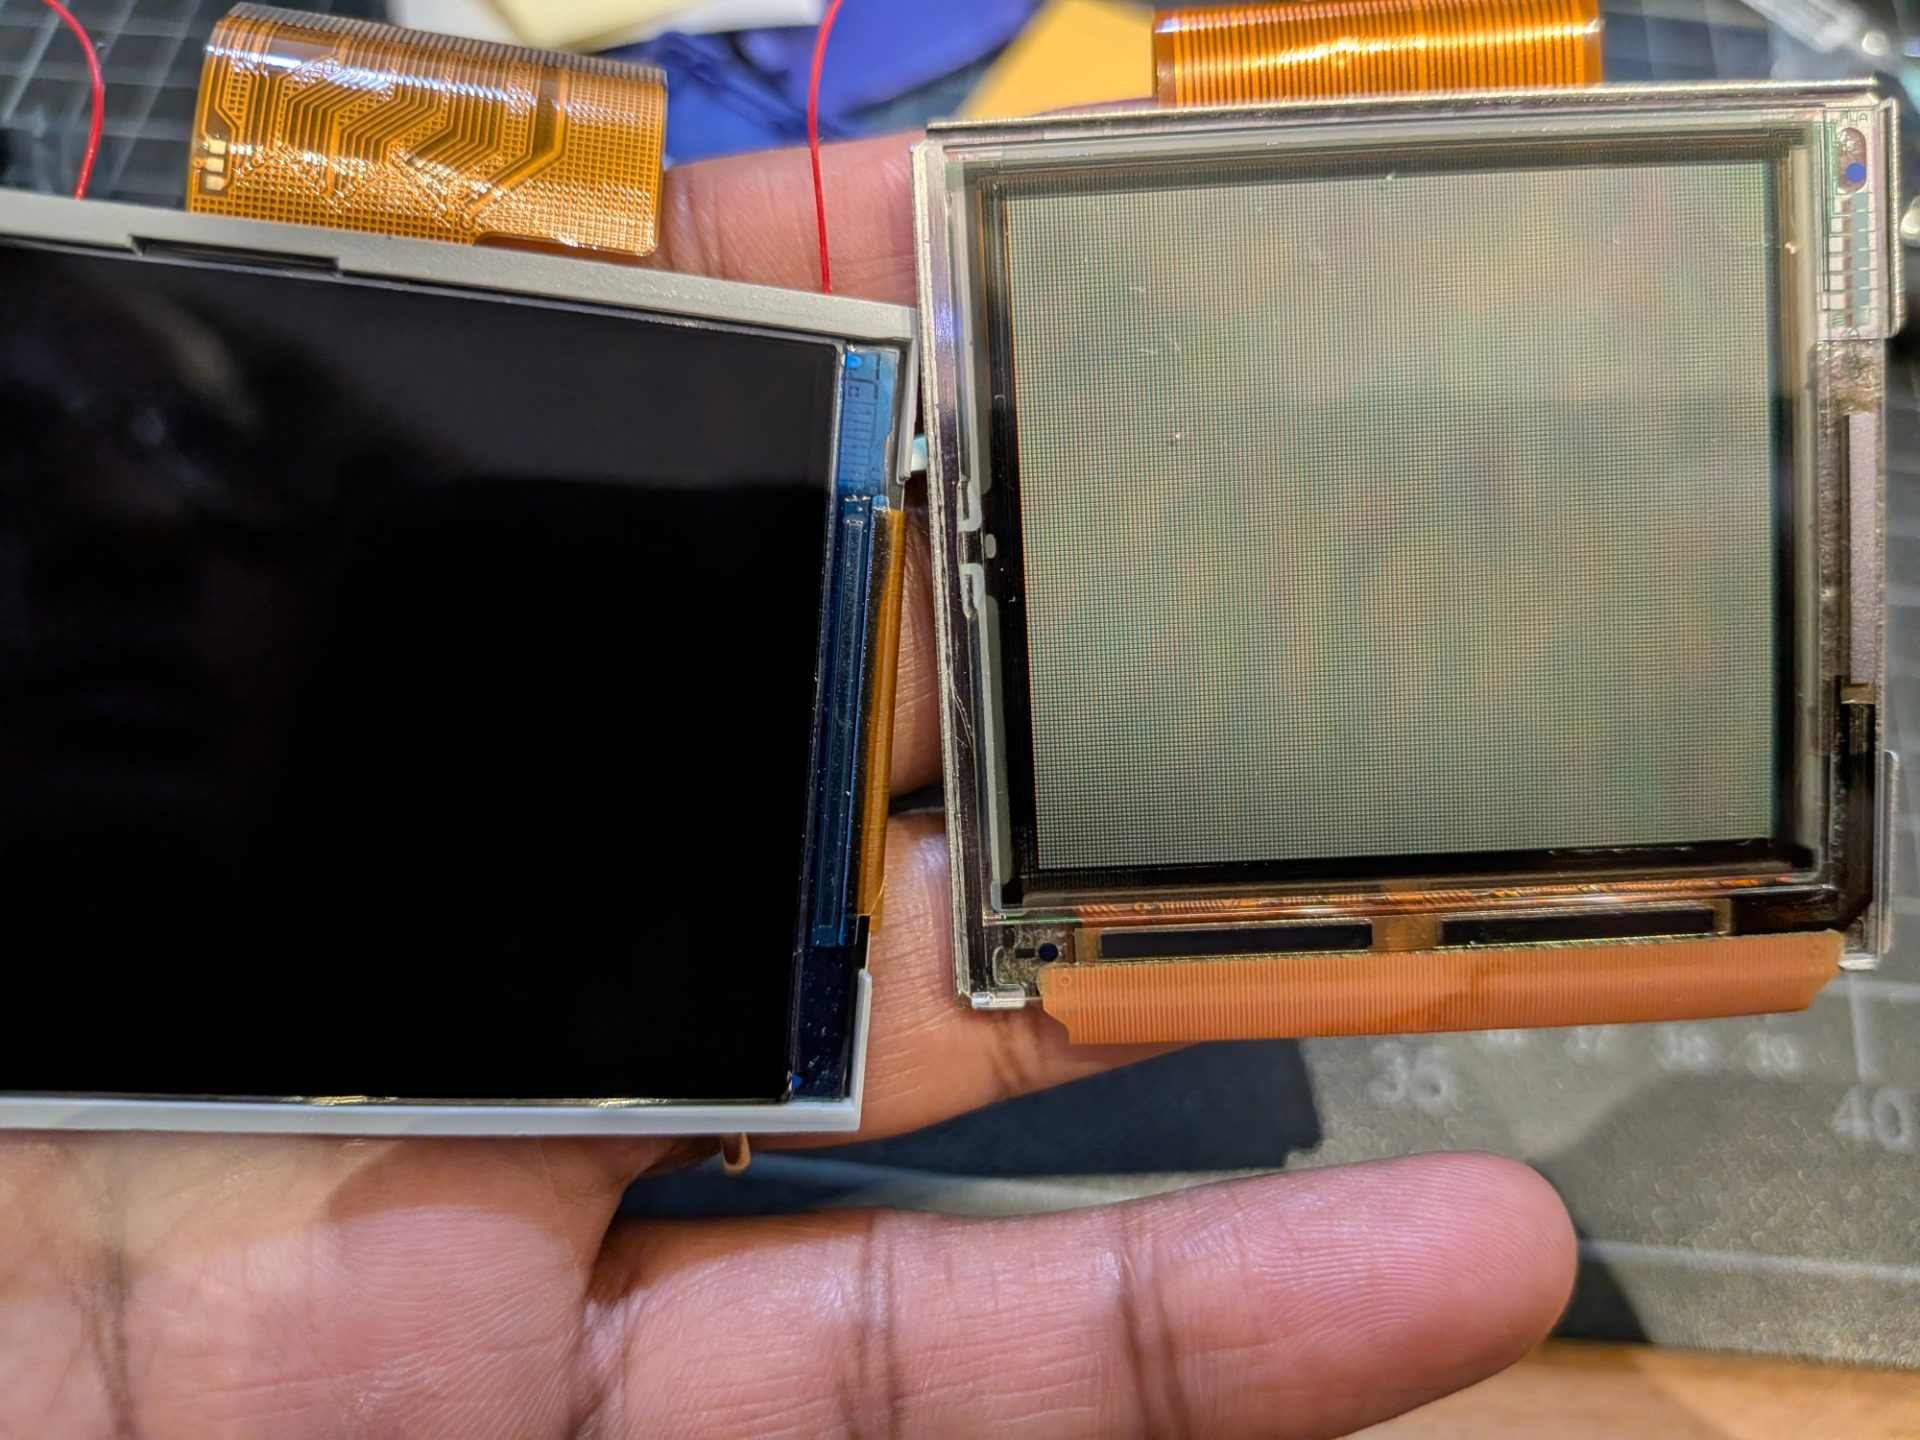
And when I mentioned the desire for a replacement screen, here it is so you can get a sense of the default "brightness", I had one as a kid and definitely remember playing near a light or near a window so I could get the sharpest image. That's still true today but somehow worse. I'm determined to have a little device I can pull out that isn't a phone so replacing it was a must.

Without further ado, the guts. I'm still in awe of how reliable these are, 30 years later and it works great and only needs fresh batteries to play any game.

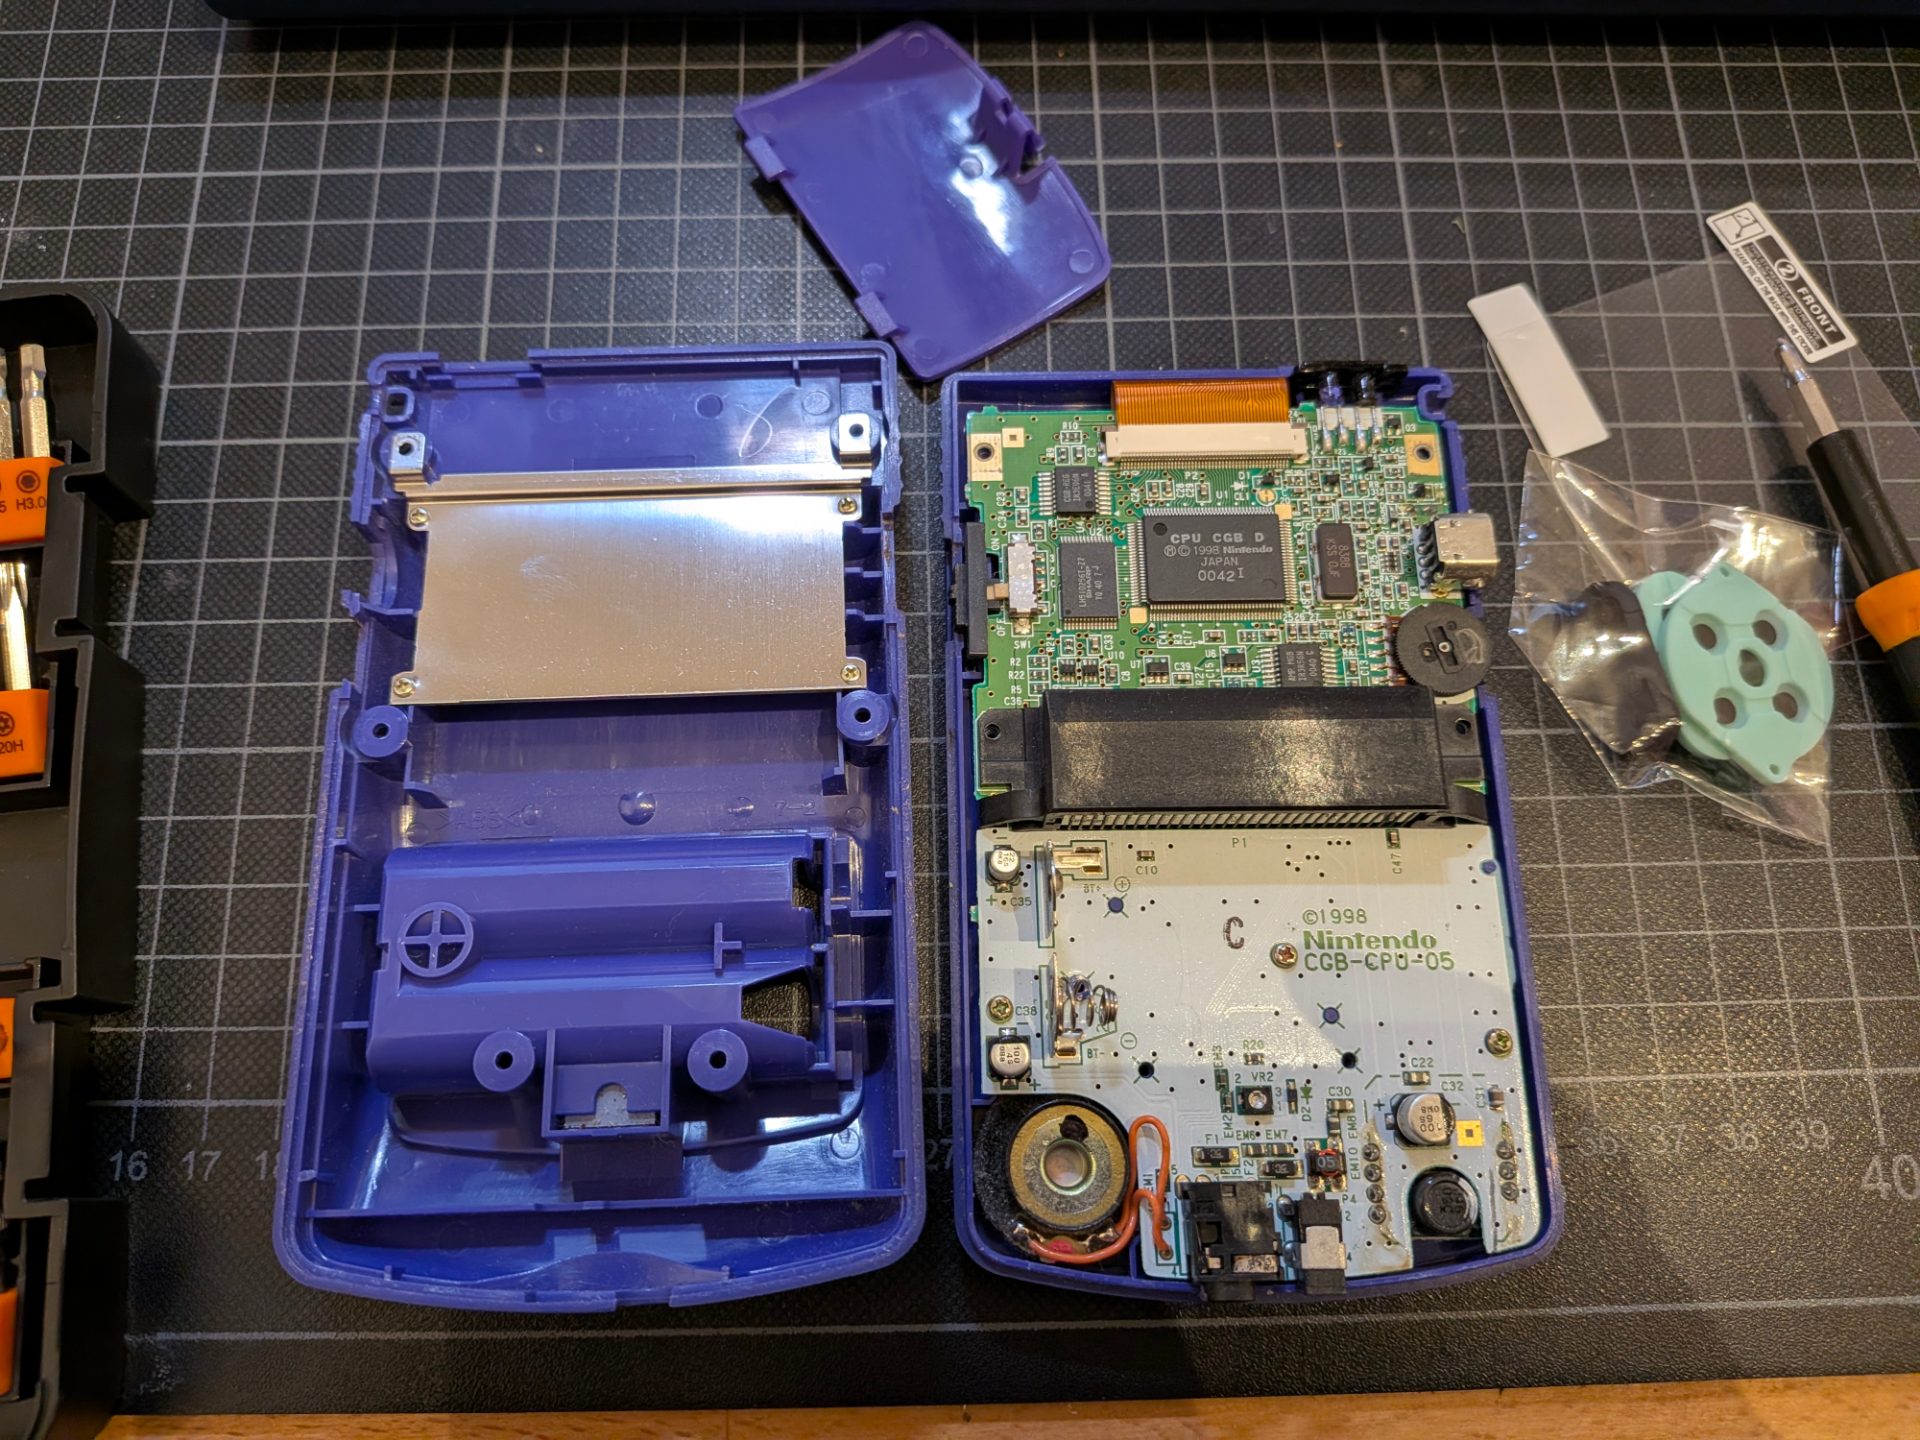
One of the first things to do is upgrade the speaker, I was a little uncertain as the stock speaker has a housing that slots it perfectly into the body and doesn't budge. I did some additional searching and there really isn't any mention of this being an issue.

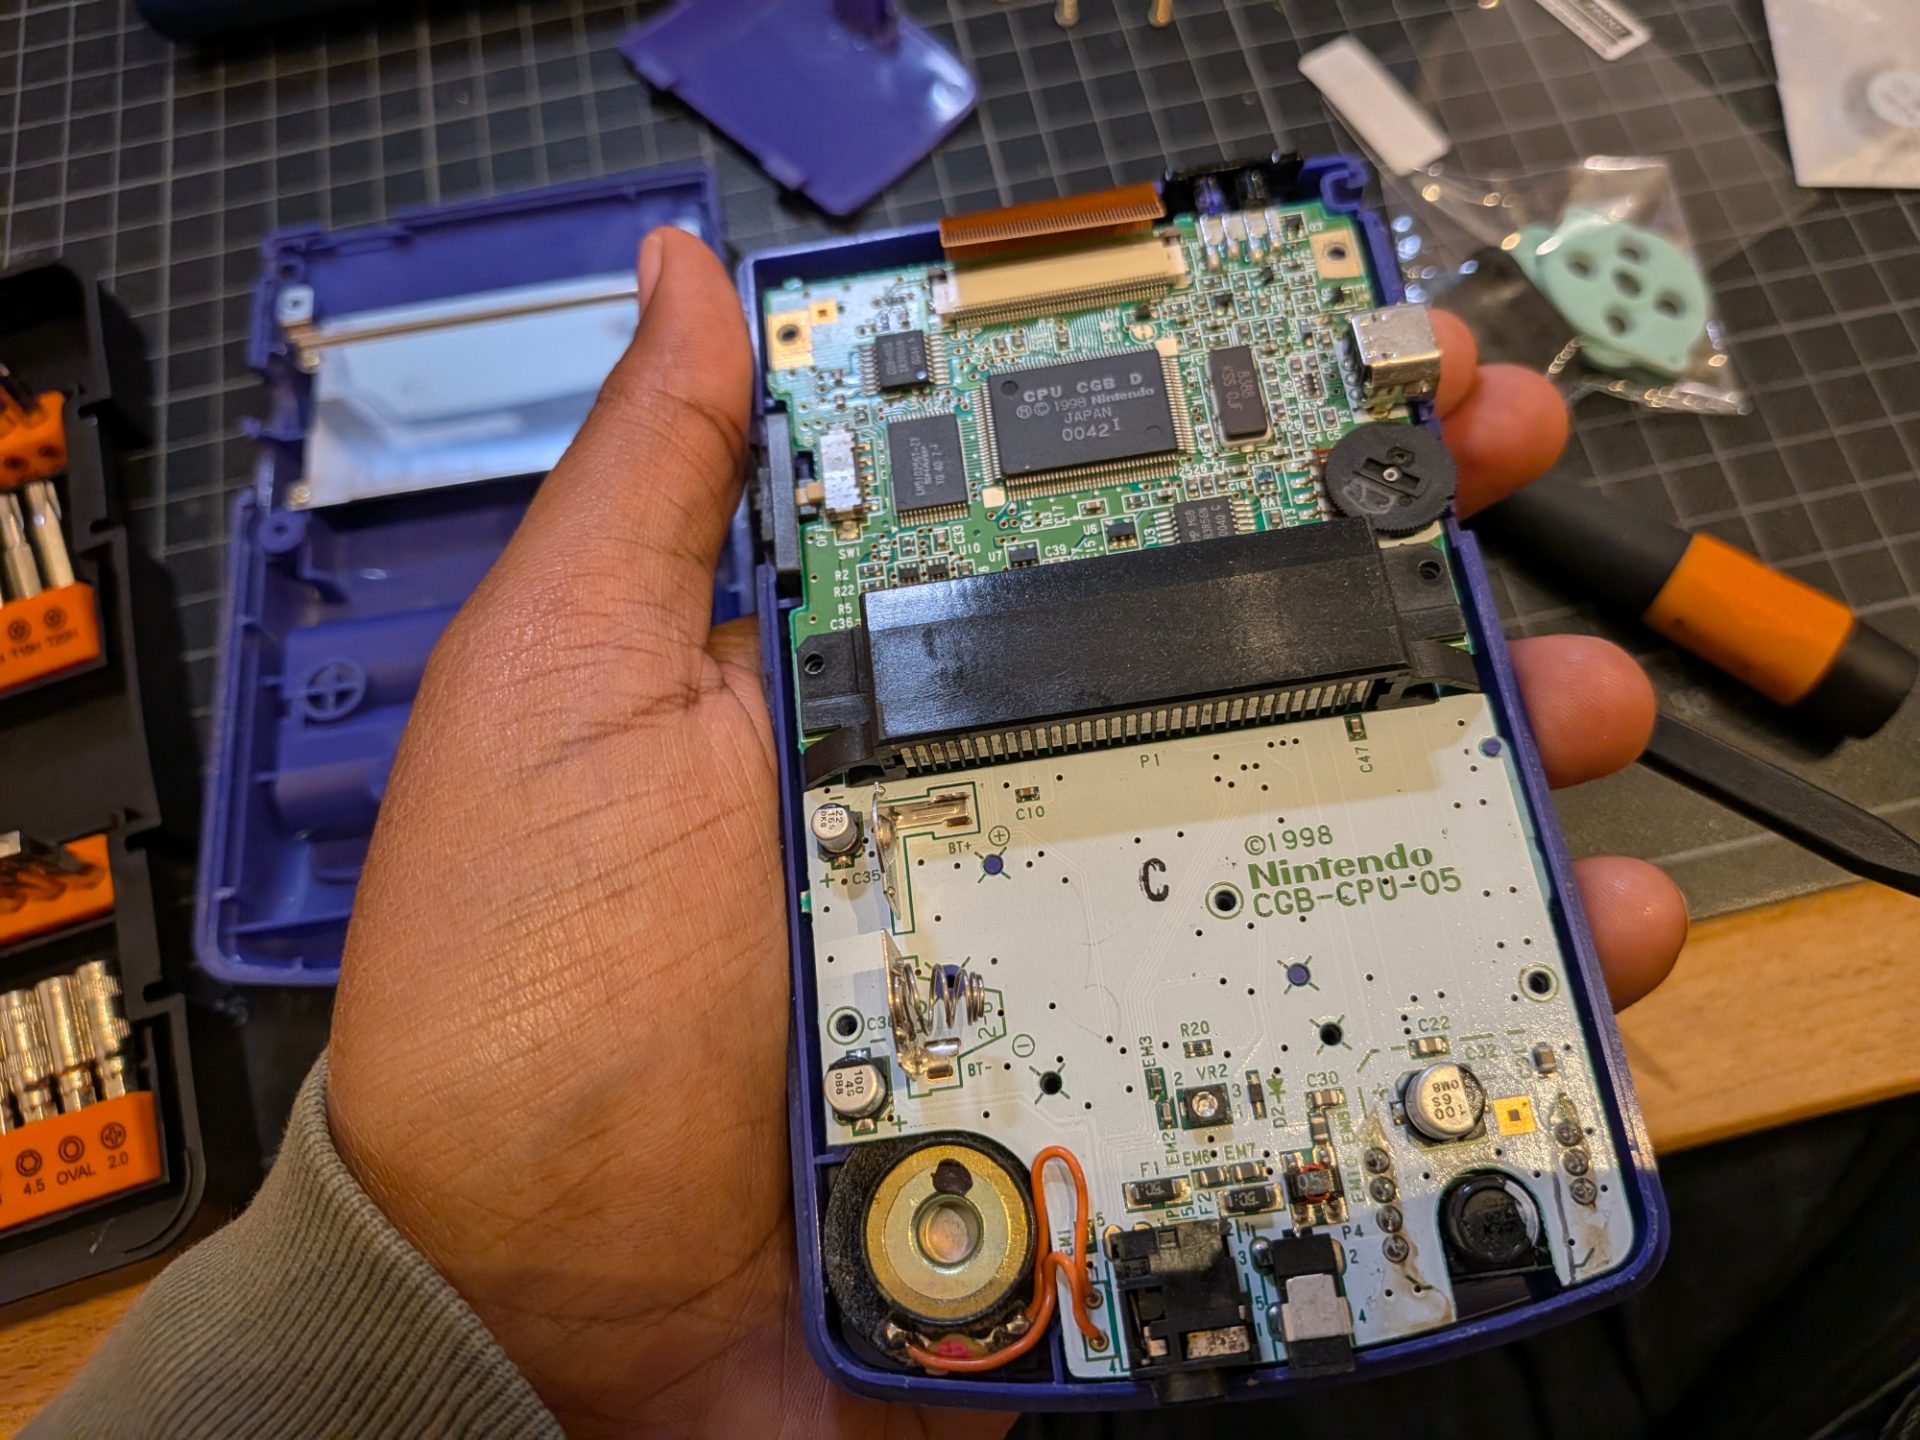

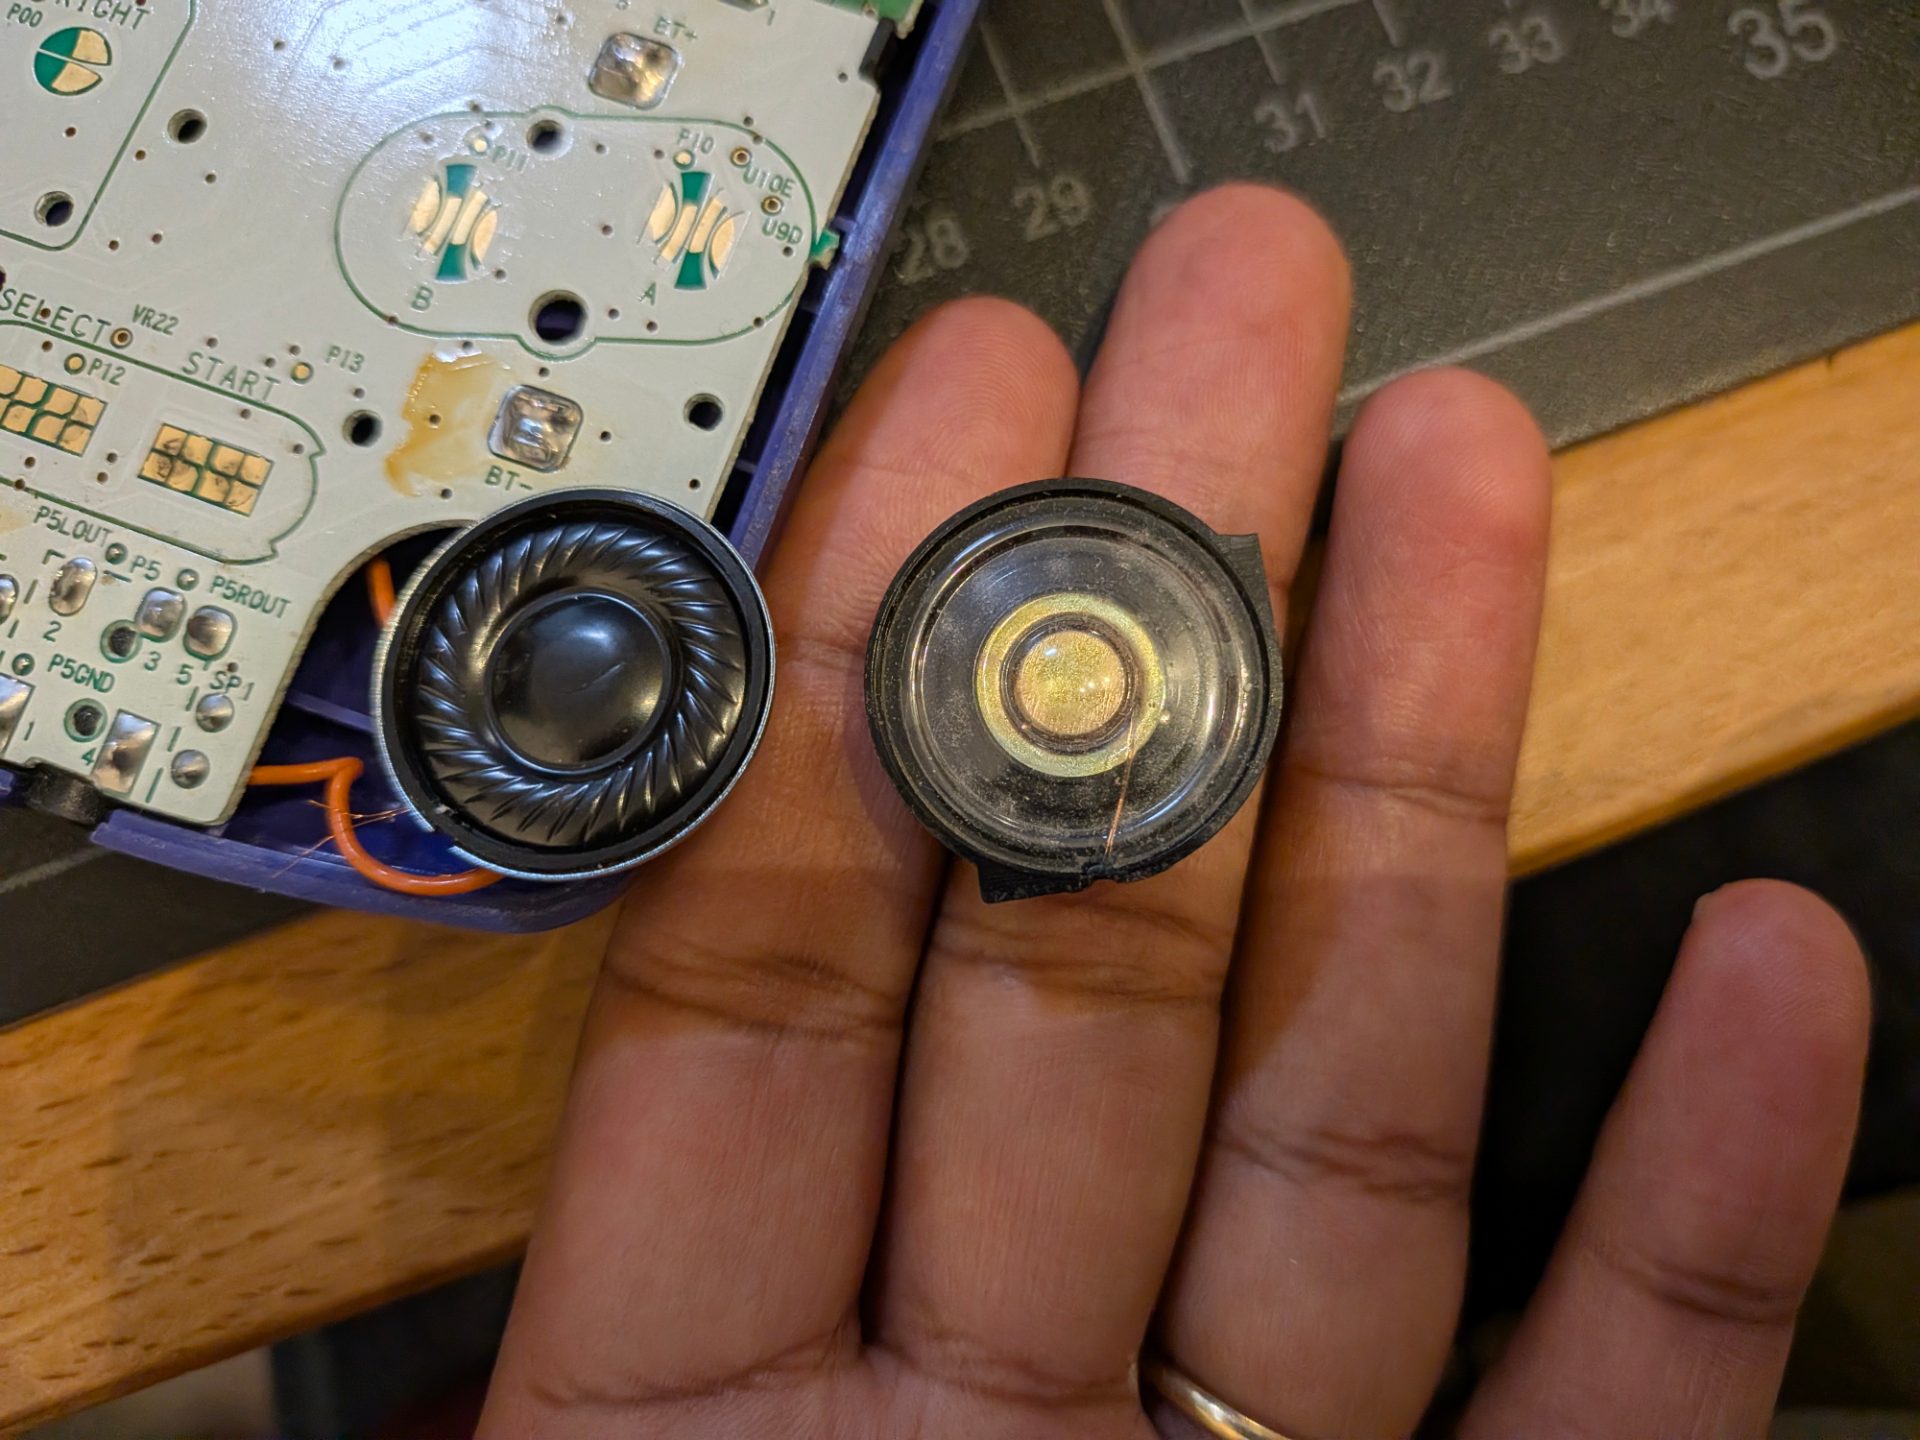
Plenty of guides talk about changing the wires which really isn't necessary, I just heated up my soldering iron and remove the old speaker and popped the new one in place, turns out the stiff speakers and small space are enough to hold it snugly in that little corner so my worries were for nothing.
Next up, changing out the membranes and ditching the grime of who knows how many years. This is quite honestly one of the easiest and best things you can do if the buttons on any device feel mushy, after doing this everything felt super clicky and responsive.

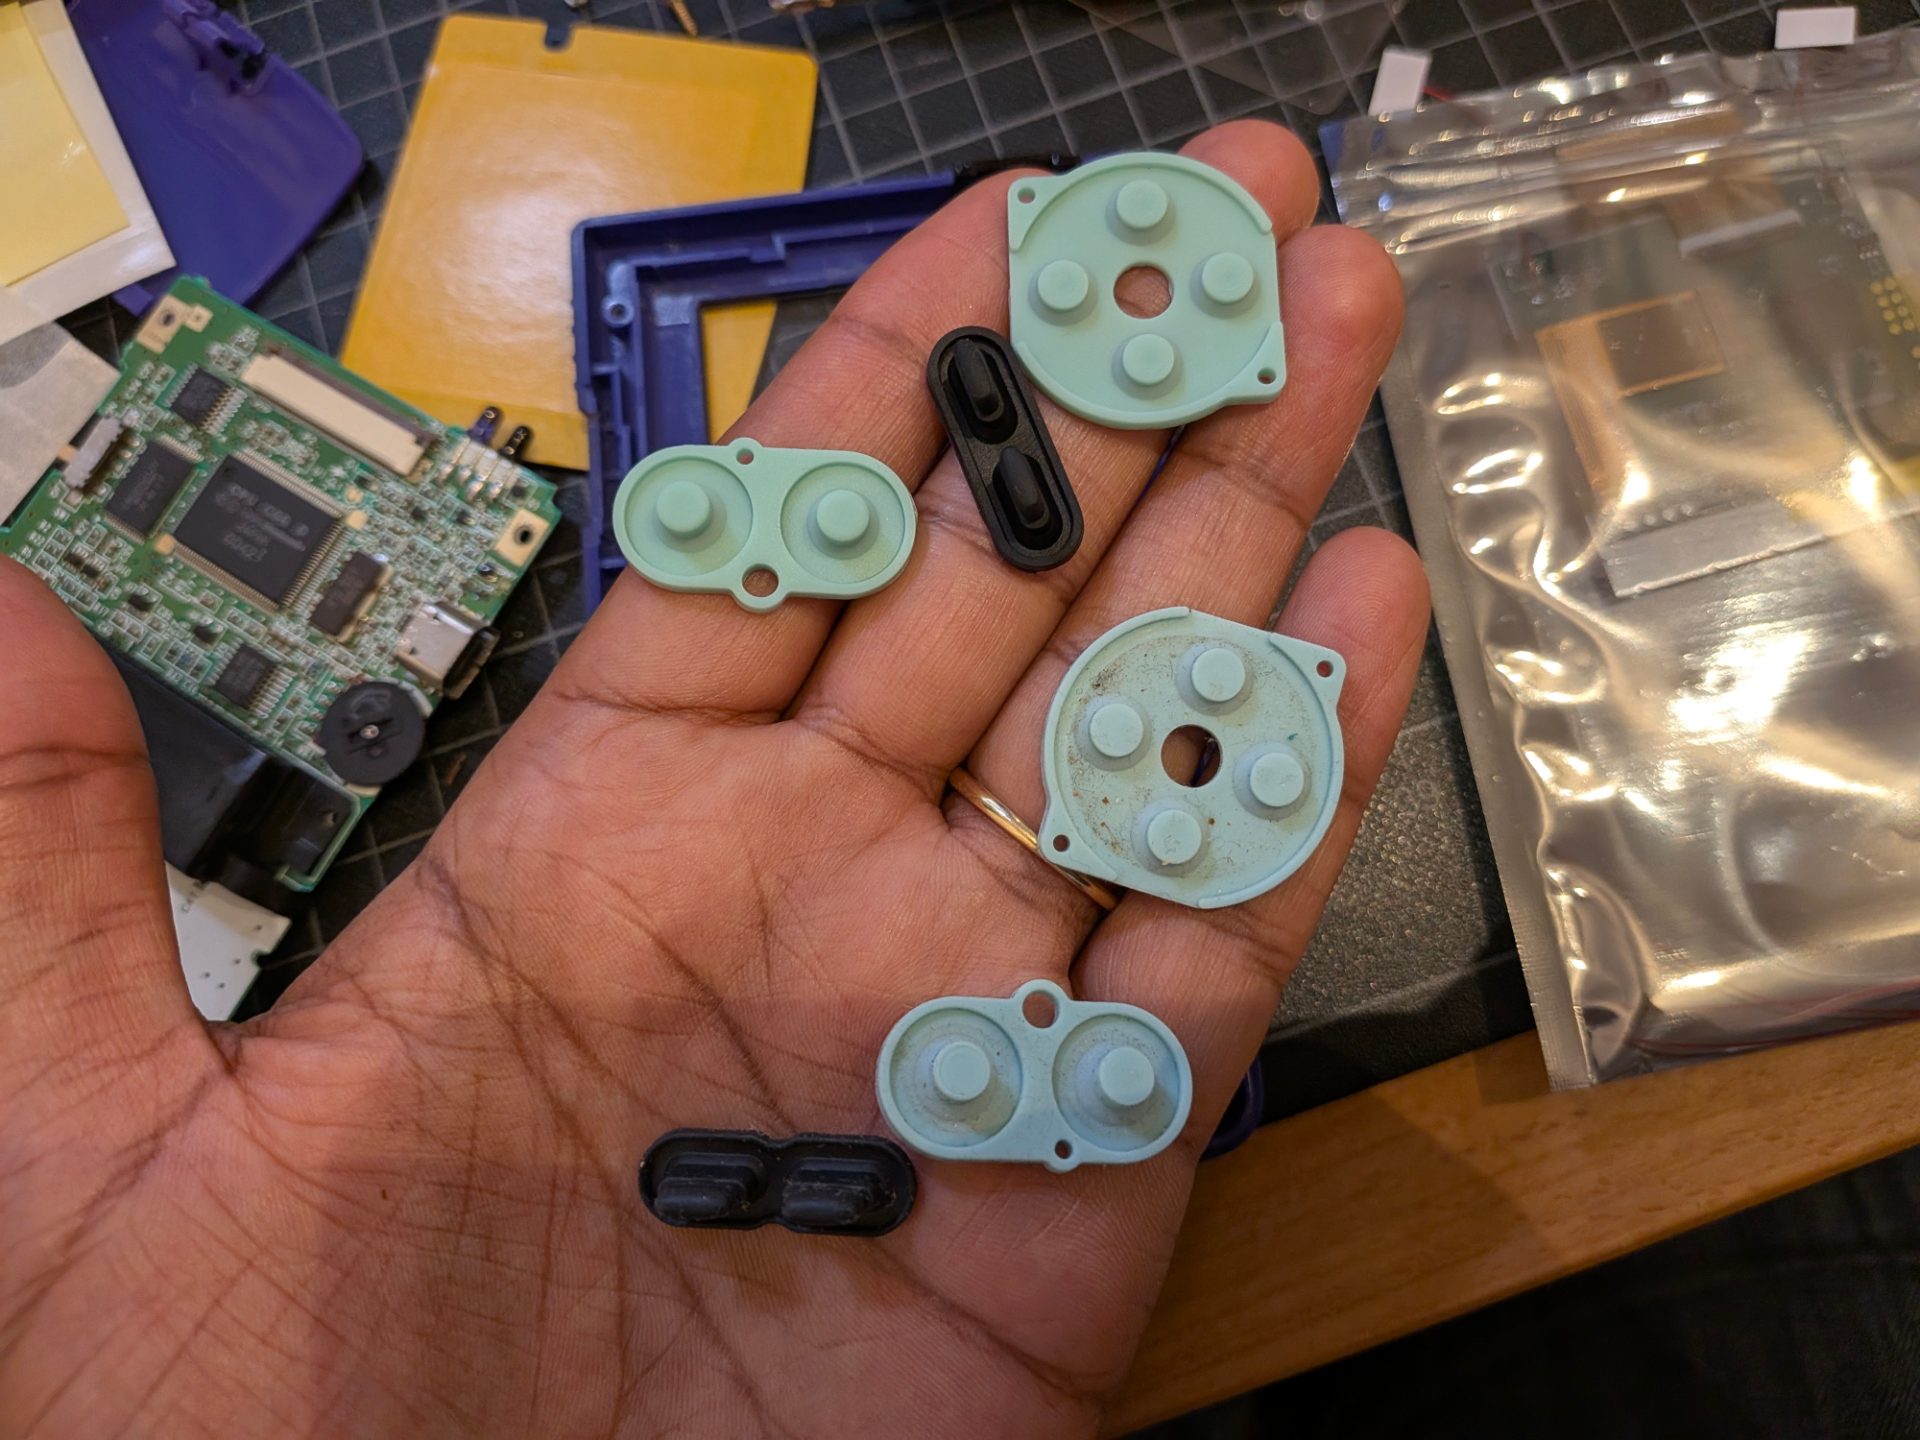
Of course you should still clean up the buttons themselves with some soapy water.

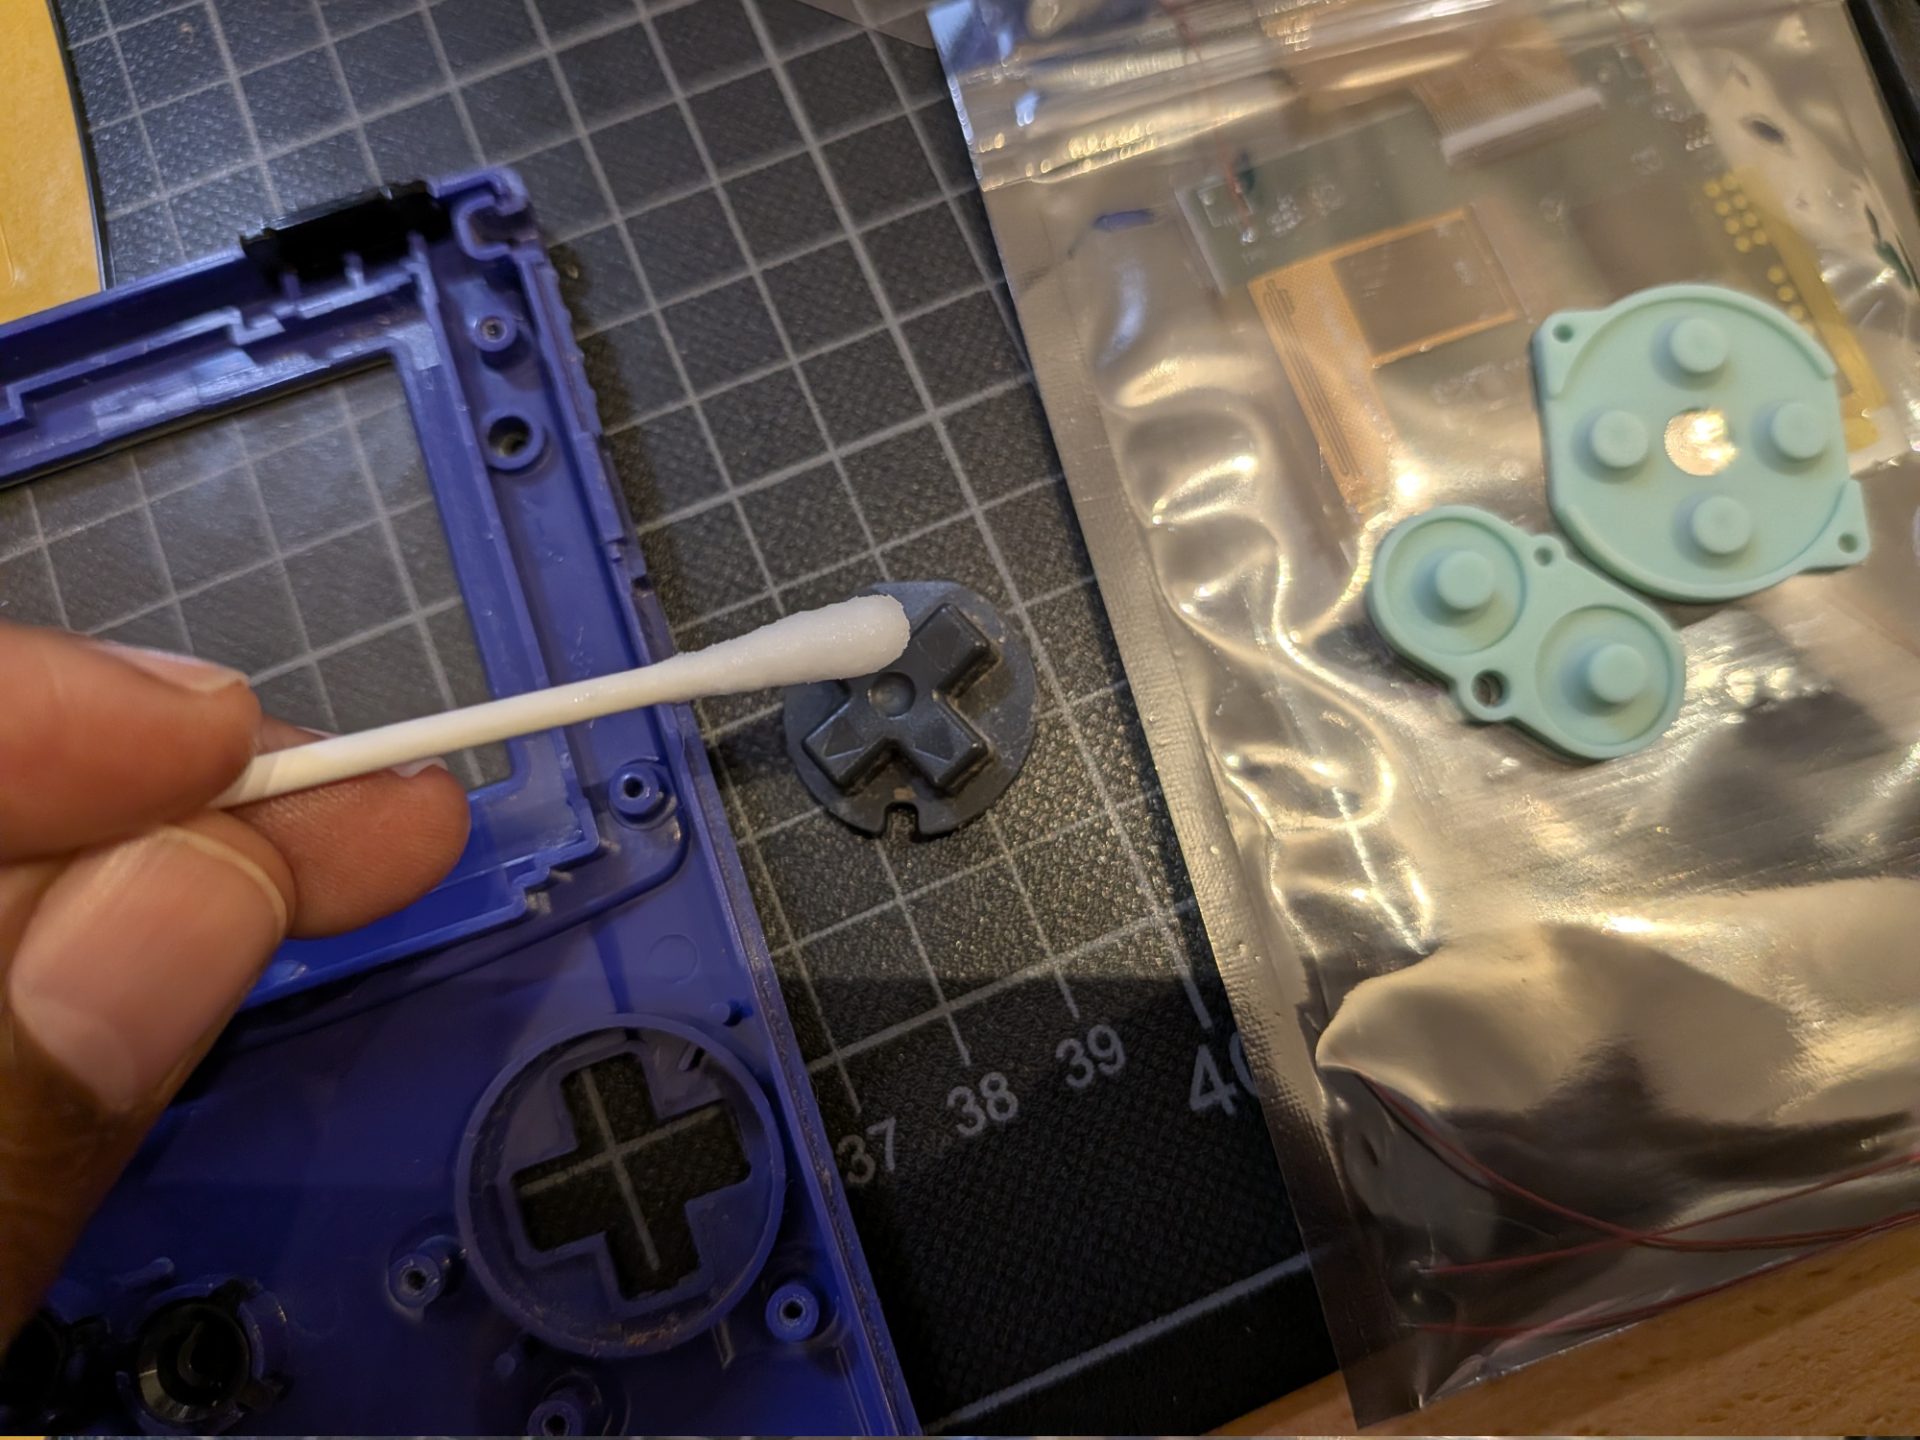
With those out of the way, it was time for the screen. Now there's two reasons I changed it, the first because I had no backlight. The second is that I played so many games with an emulator and knew how rich the colors are and I really wasn't getting that, the IPS screen gives you both with incredibly rich colors compared to the old screen.

I really had no idea what I was doing so I looked up the manufacturer and found a guide from them with frustratingly tiny pictures that started with "Put the double adhesive on" and silly me blindly followed instructions then realized the adhesive that I was skeptical about had good reason to be skeptical of. While it was a bug shit there was a really badly done cut out in the middle so I accidentally put a very thin stretchy adhesive film right on the display area which I painstakingly separated with a crafting knife.

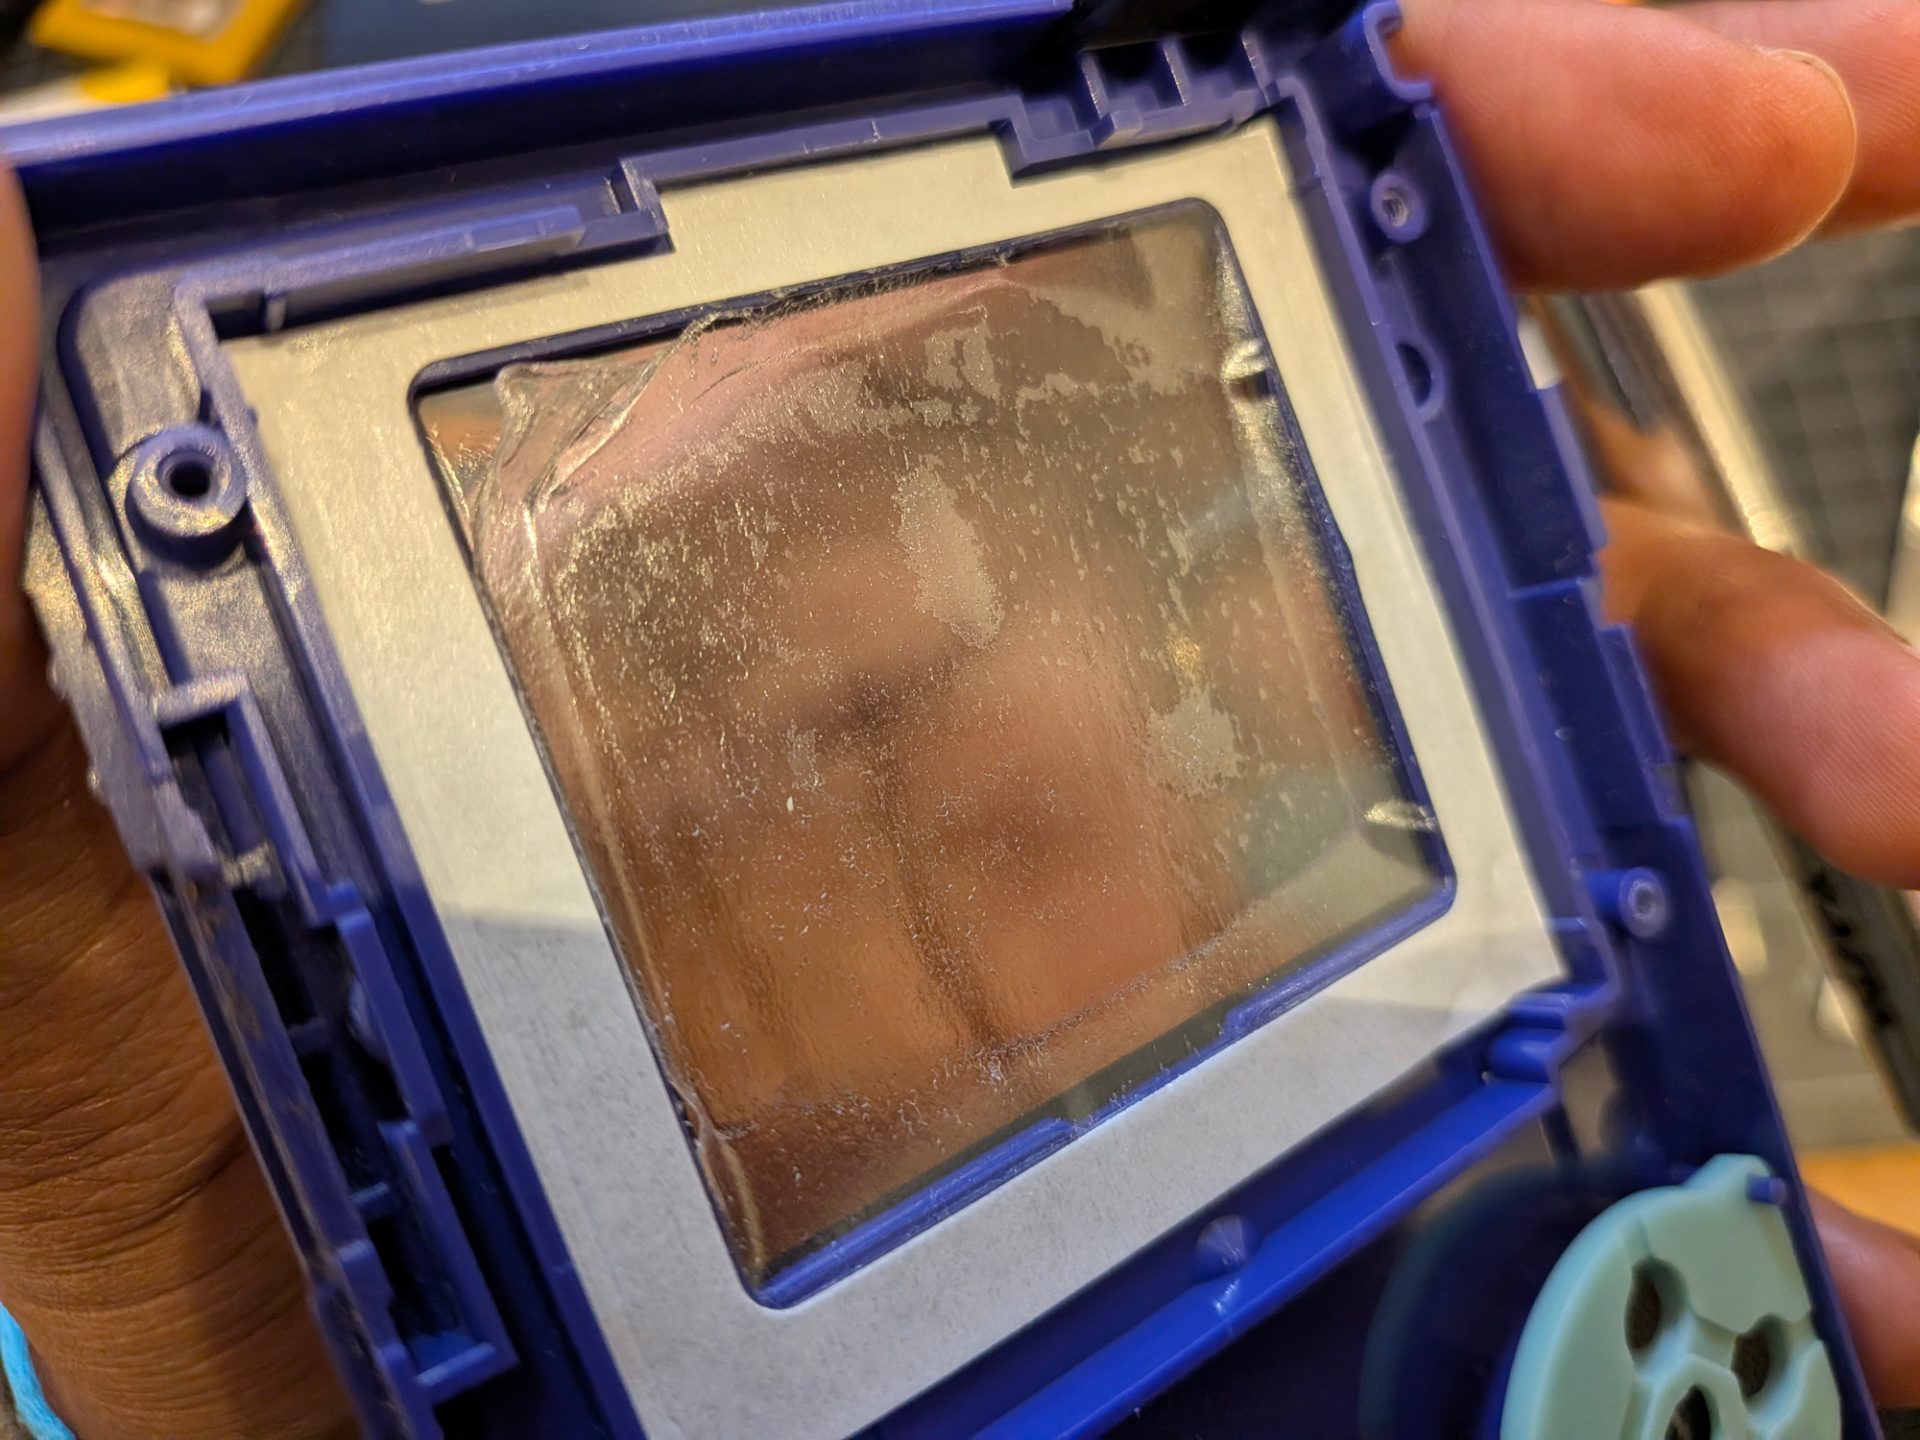
With it done properly I peeled the outer backing film off and then sort of tried to place the new screen in which worked? There were also little copper contact pads that need to be put inside the case that I'm still not sure what they do but hey, I followed the tiny pictures in the installation guide. So that left me with everything installed and ready for reassembly.

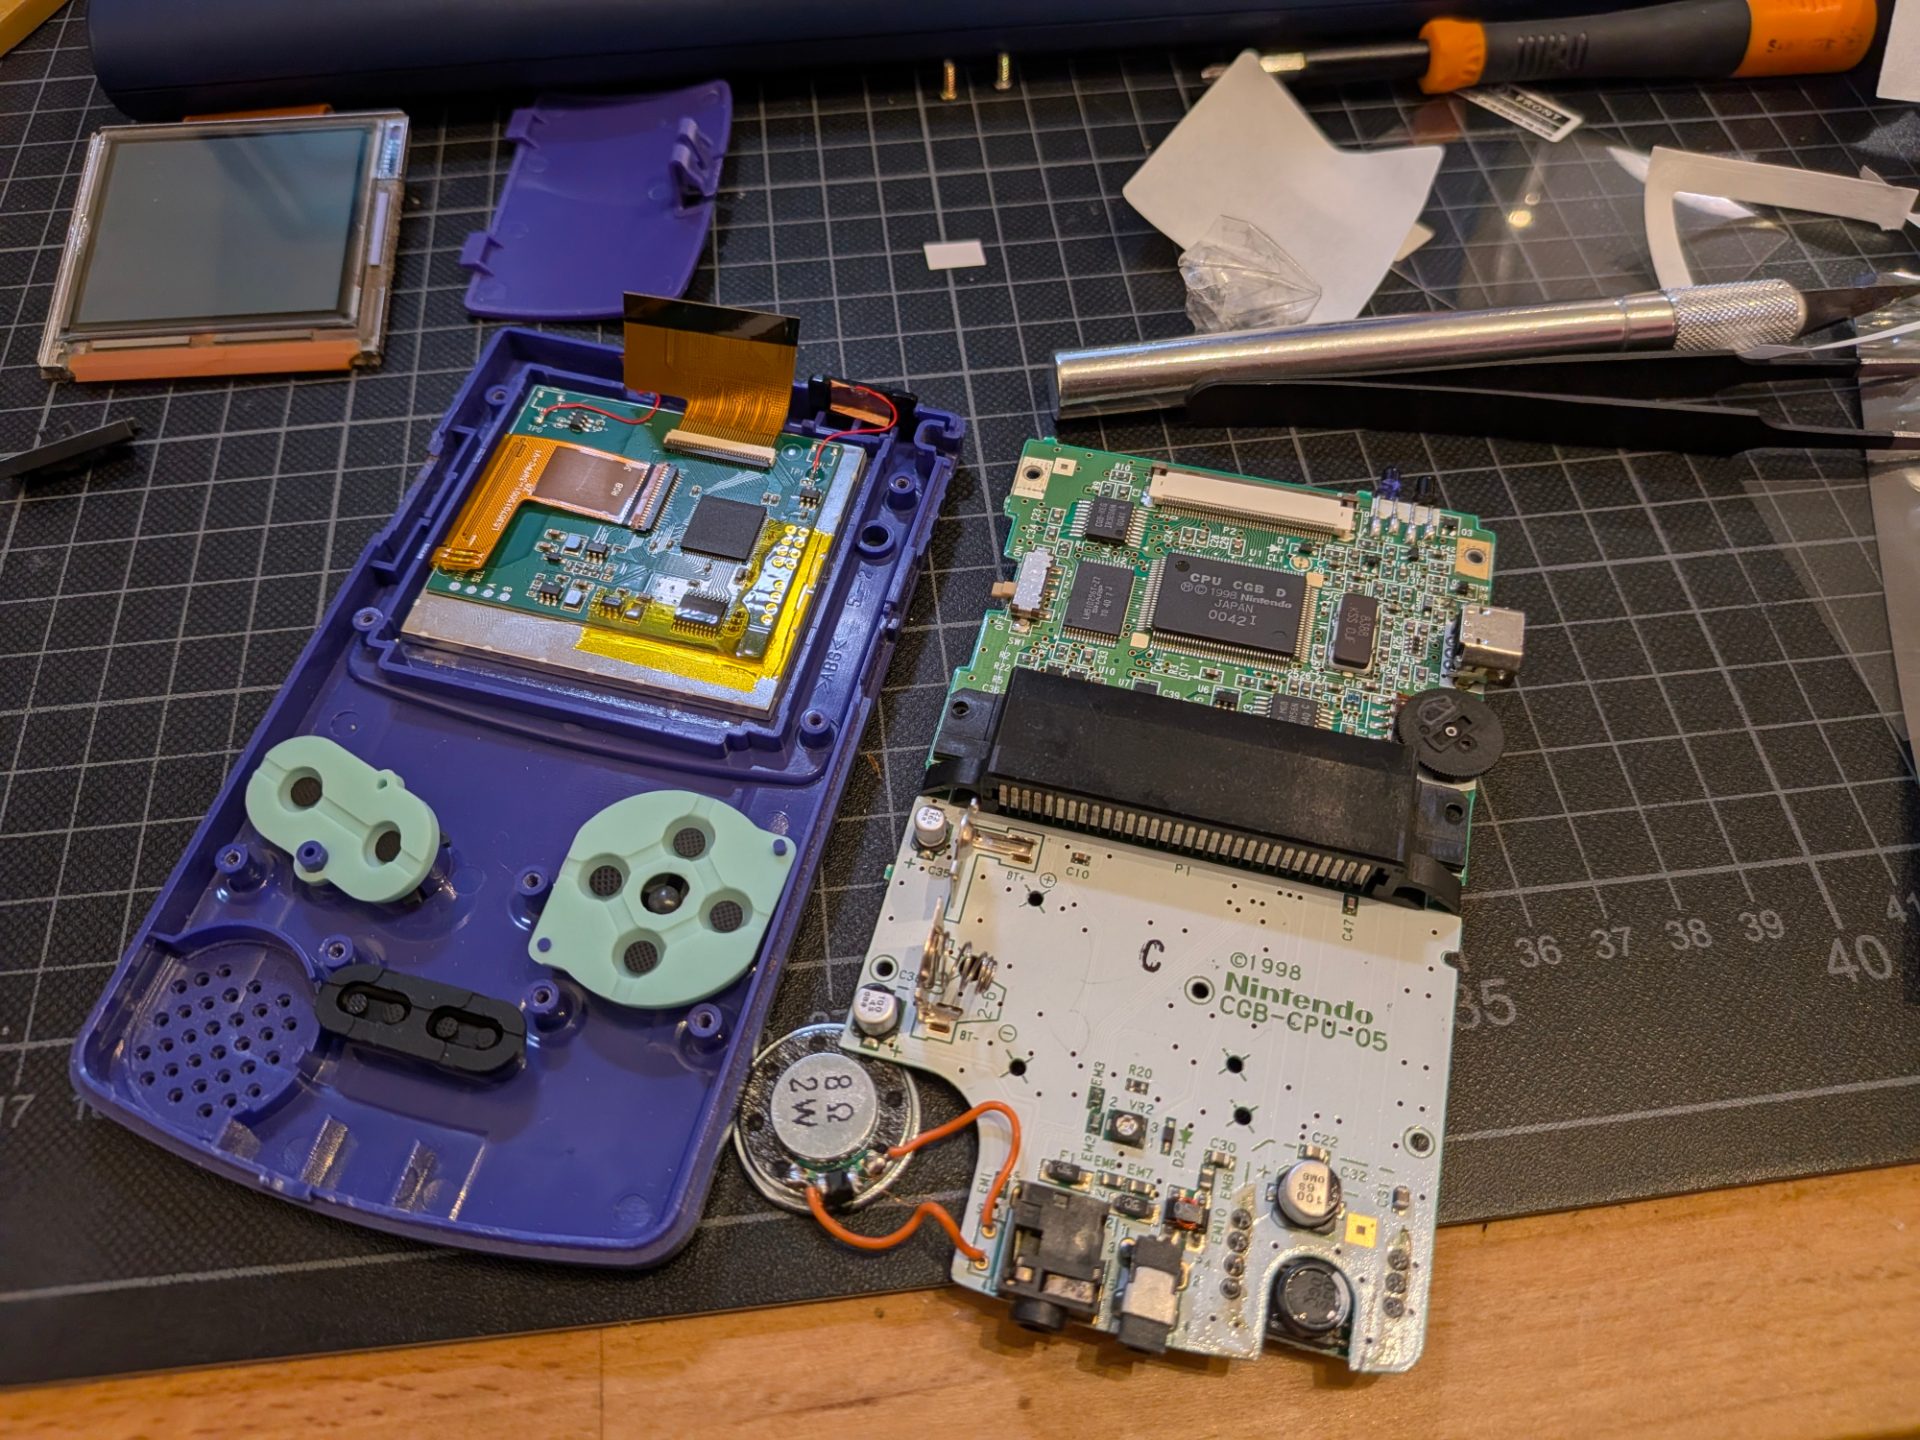
But I of course, forgot one crucial step with the screen, protection.

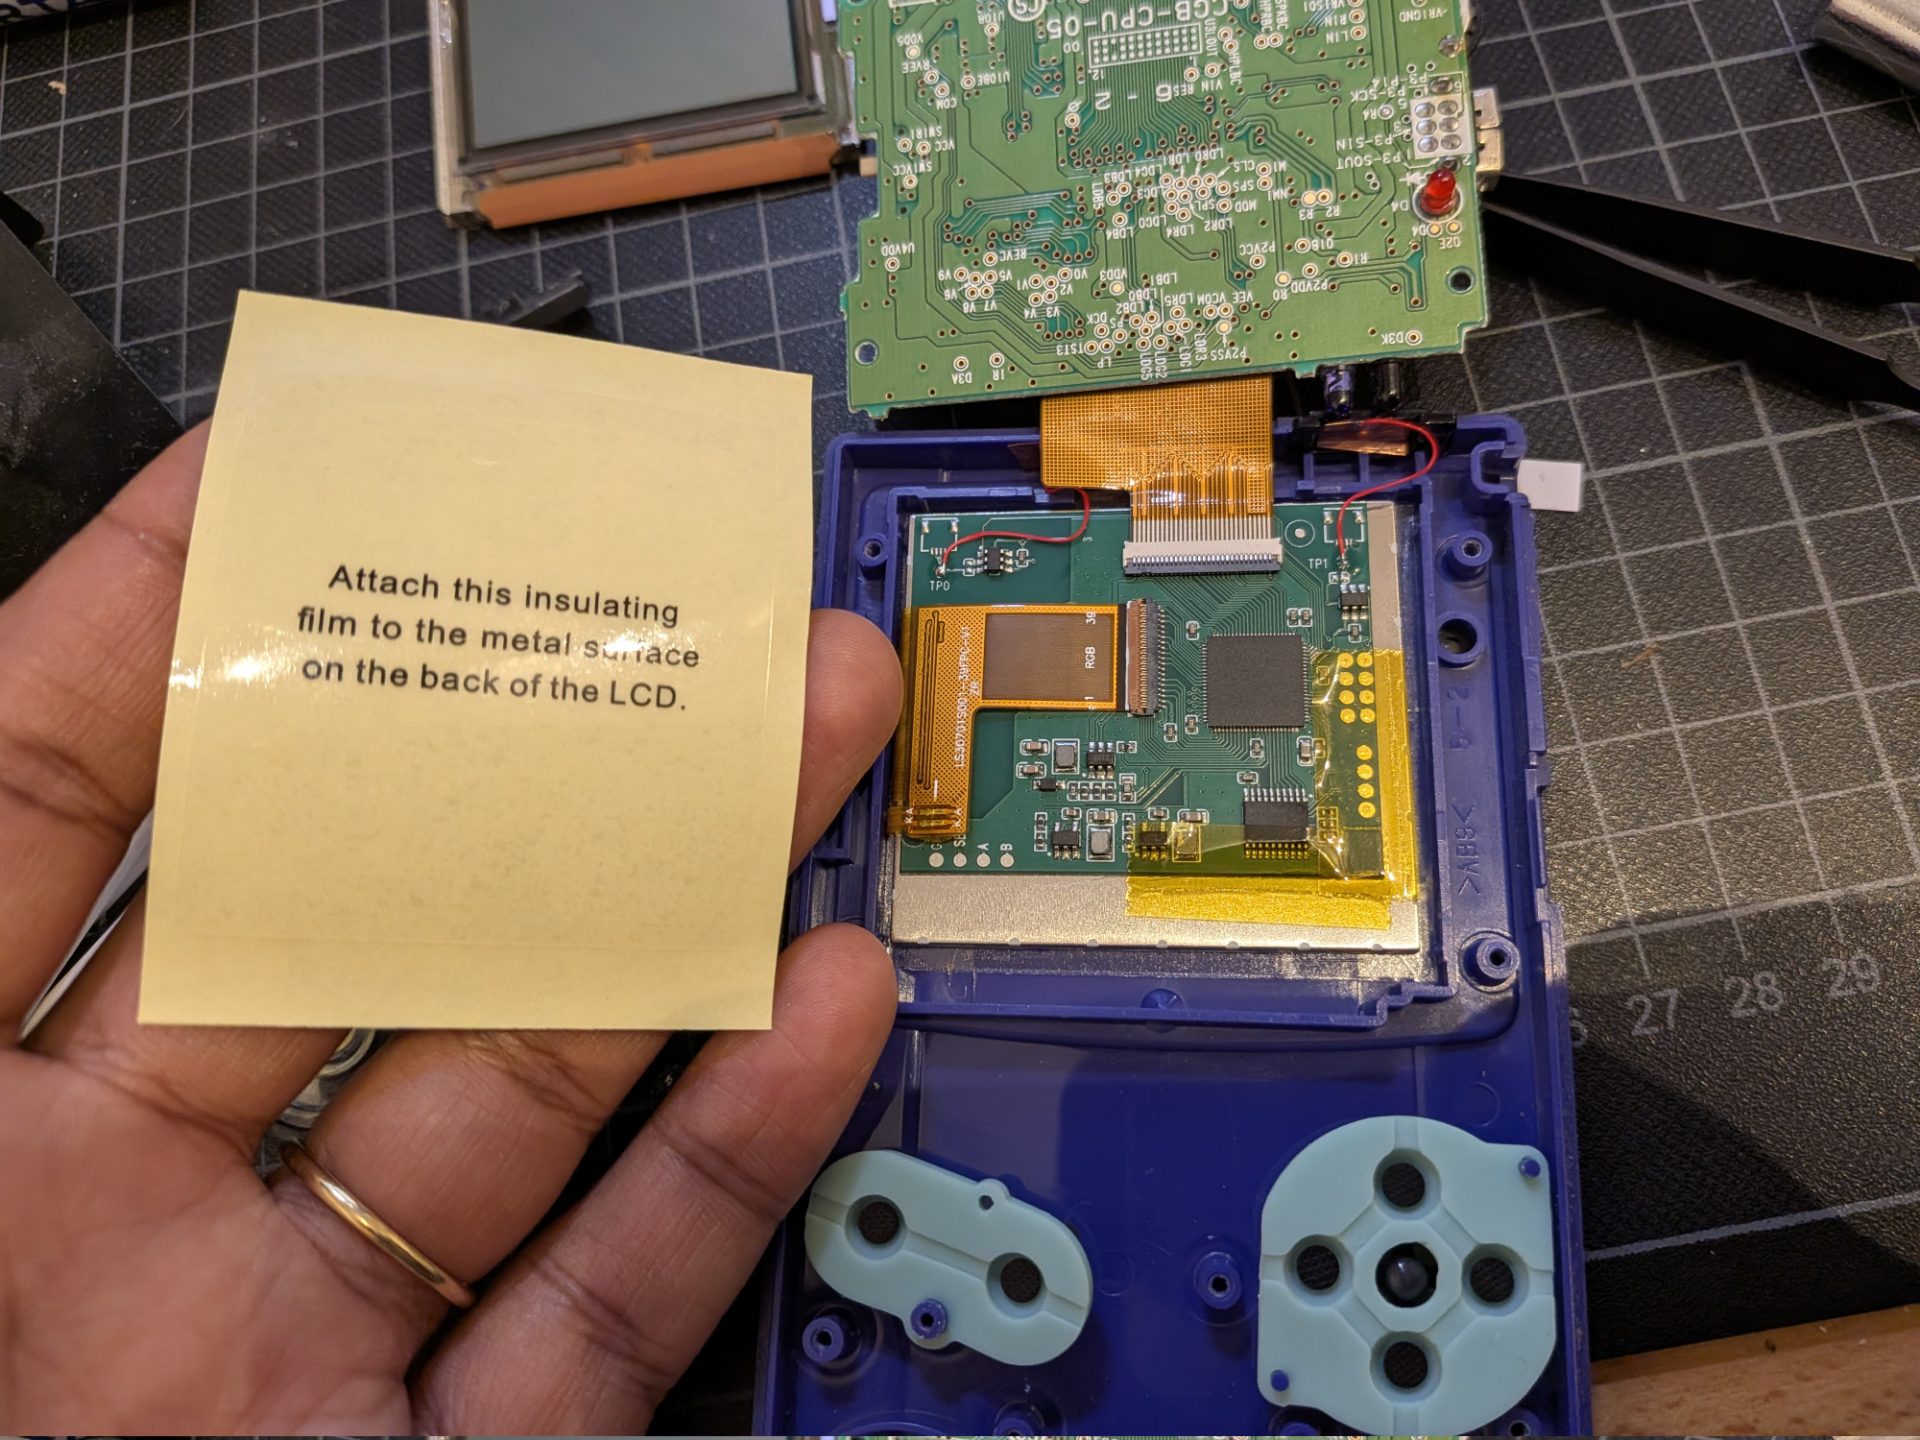
After this I reassembled the whole thing, started it up and immediately discovered weird flickering of the screen. Thankfully the installation guide had a broken link to a troubleshooting page and with my amazing detective work of clicking around a mystery website I found it and discovered that there's an incredibly tiny potentiometer underneath the batteries for the LCD voltage that needs to be adjusted. Once I tweaked it things looked nice and offset. The LCD screen isn't actually centered which is annoying but I'm going to deal with it for now as the glass screen on the outside does have some rough scratches so when I eventually swap that out I'll realign it.

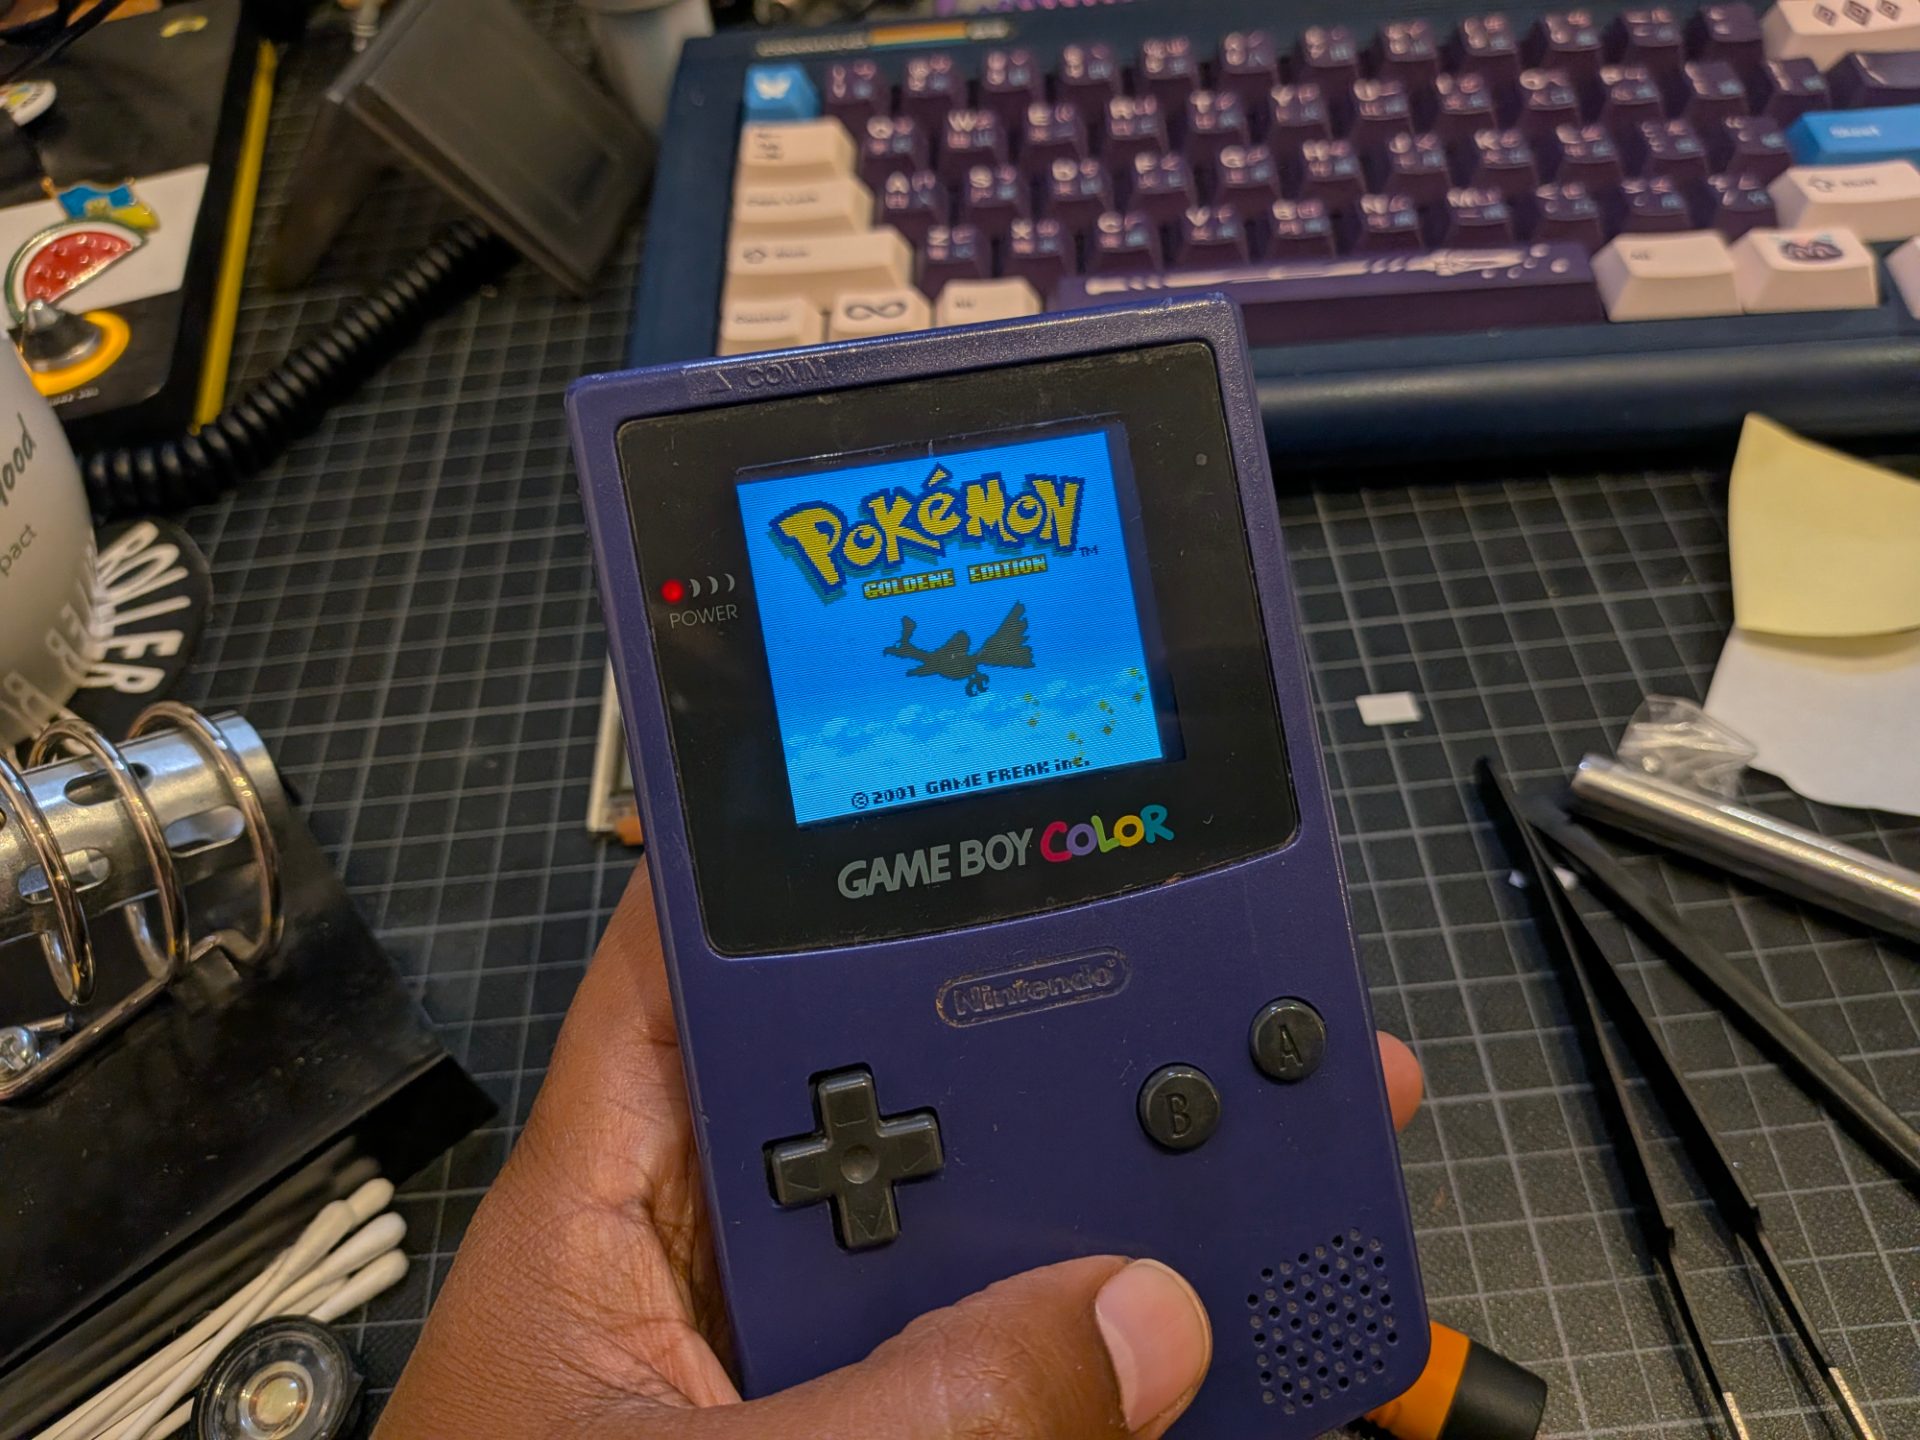
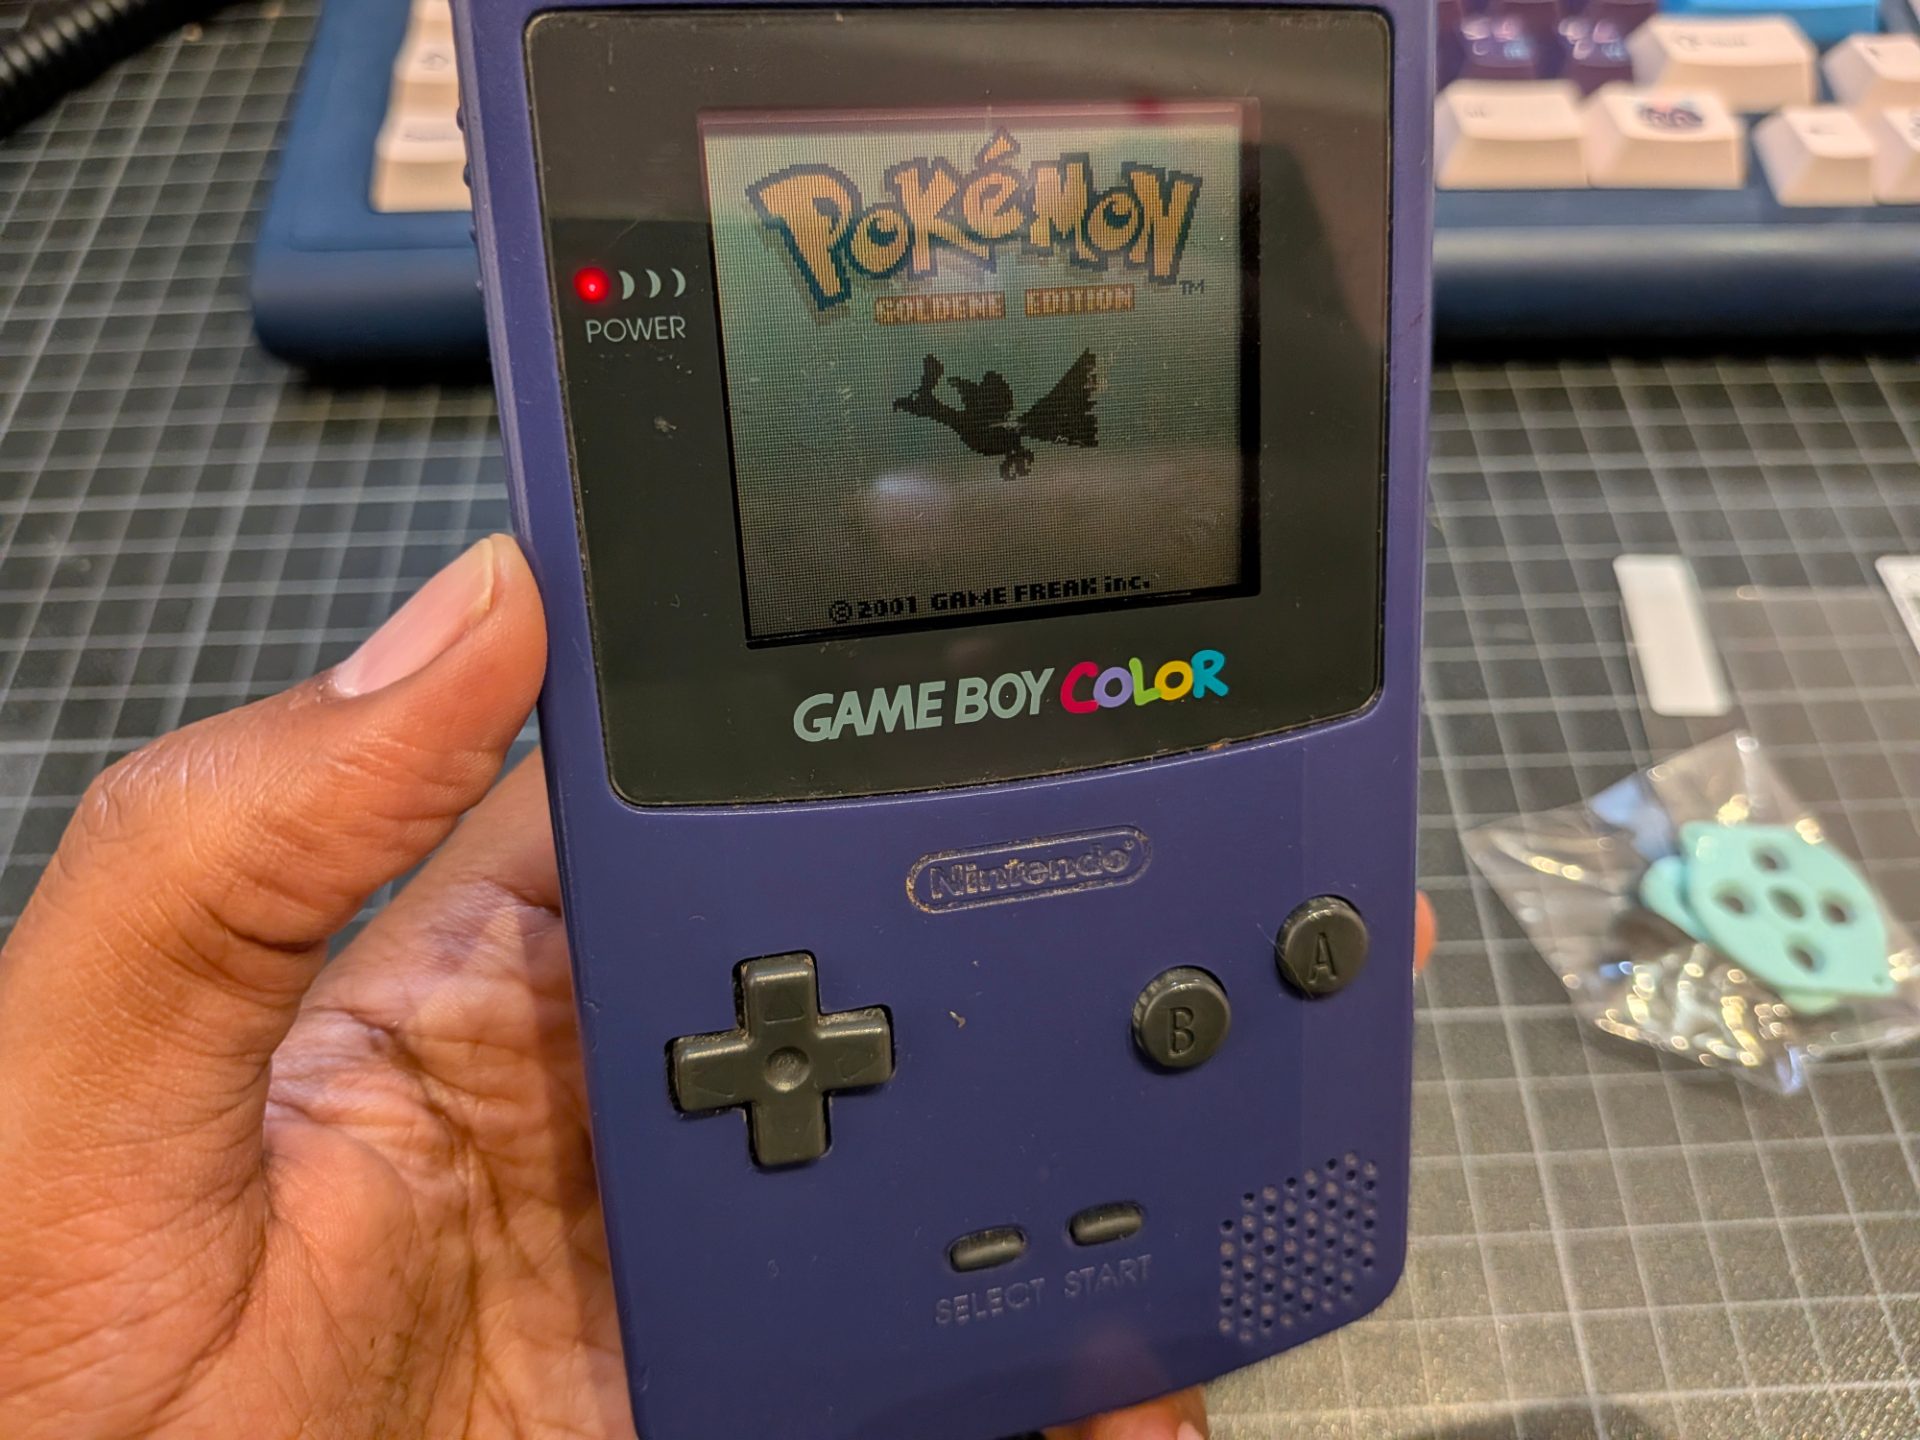
But goodness the screen swap was so worth it, these colors are NICE.